
I haven’t made any free tutorials in a while and since a couple of people have asked for extra diapers for my babies, I thought it would be a good idea to teach you how to make your own. I’m always happy to make some extra ones, but of course I need to charge for it. However, they are not that complicated to make and I thought, maybe I can teach you how to make your own diaper template for each kind of doll you have.
If you have a diaper for the doll in question, then you can just create a template from the diaper by putting the diaper on top of a paper and tracing it. Then you can cut the shape, transfer it to fabric leaving enough seam allowance, sew over the lines, and voilá, you have a diaper. Now for those that don’t have a diaper for the doll in question, this tutorial will come in handy. This is how I make the patterns for my babies’ diapers. Other people may have other ways, maybe even easier ways, but this is how I do it, so this is how I can teach it.
To make the template you will need :
- The doll you want to make the diaper for.
- Paper or cardboard stock paper (my choice to make patterns)
- pencil
- ruler
- scissors
To make the diaper you will need:
- The diaper template you just made
- Fabric for the outside of the diaper
- Fabric for the lining of the diaper (If you are using felt you don’t need fabric for lining)
- Erasable marker, pencil, or chalk
- scissors
- sewing machine
- velcro, snaps, safety pins
First, let’s make the template.
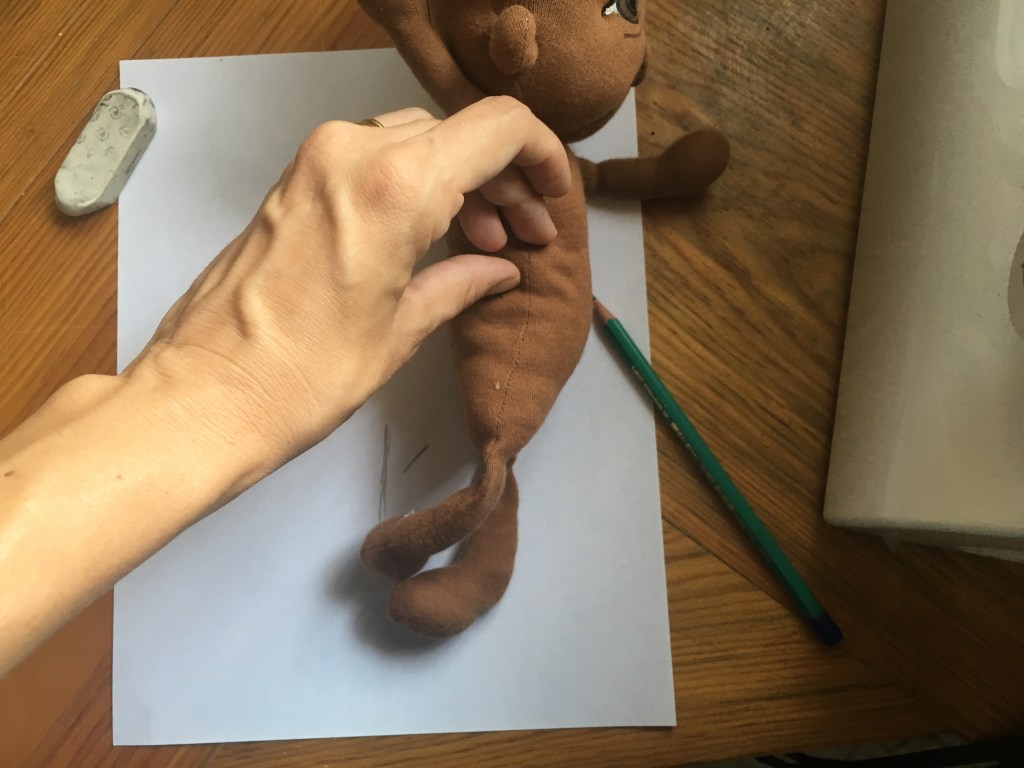
To make the template I take my naked doll and place it on a piece of paper.
I then mark with a pencil where the middle of the doll is (that line between her legs).
Then I make another line a little higher than what I think the middle of the doll is. It needs to be higher so the back part of the diaper covers the doll’s tushie.
Finally I mark where the leg opening should be.

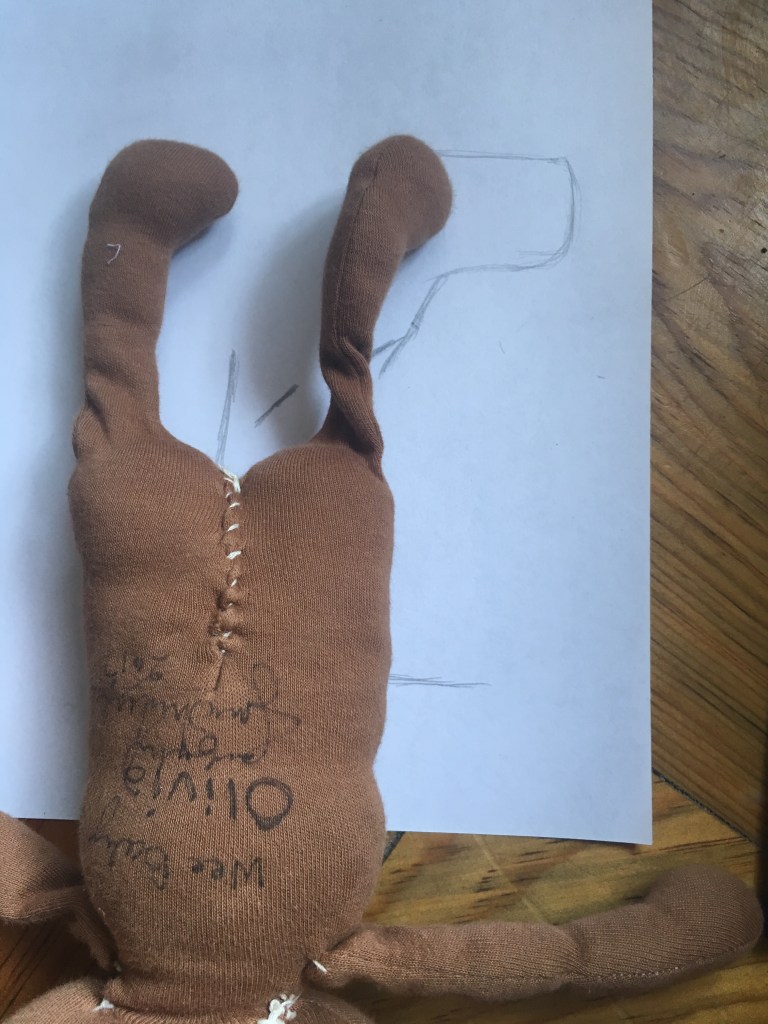
I also turn the doll to the side to mark where I would like the back flap to be when closed. This is usually a little off the middle of the doll’s belly.
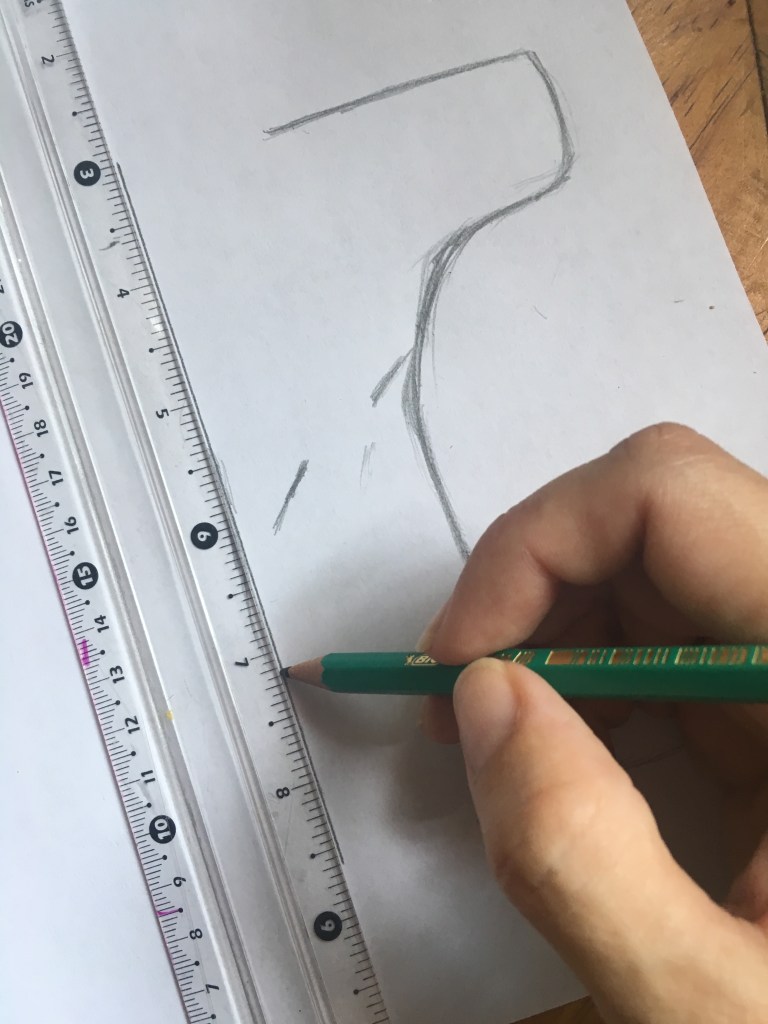
Now that I have all the marks for the back part of the diaper, I start to draw the back flap and the shape I want the diaper to be.

Then I slowly turn the doll on her belly by sitting her first trying not to move the paper and maintaining the same position on the doll, then from there I lay her on her belly.
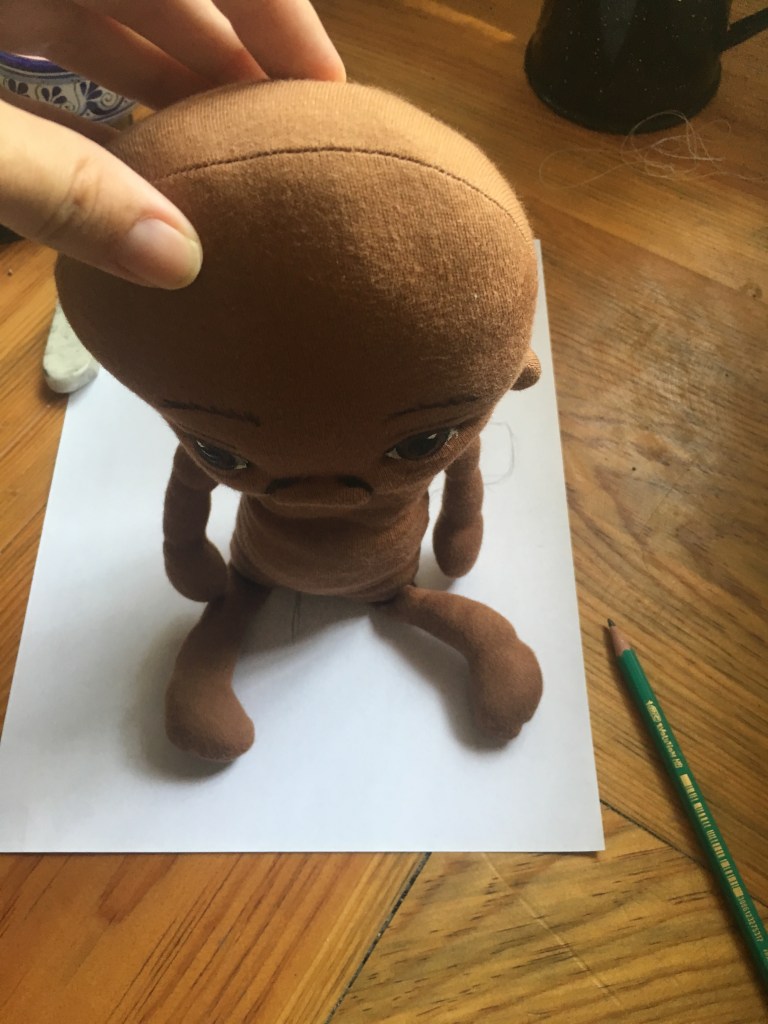
I then mark with a pencil where the front of the diaper will be.
Next I draw what I would like the front of the diaper to look like. The front does not need to be as long as the back flap, you just need to make sure that they will overlap.
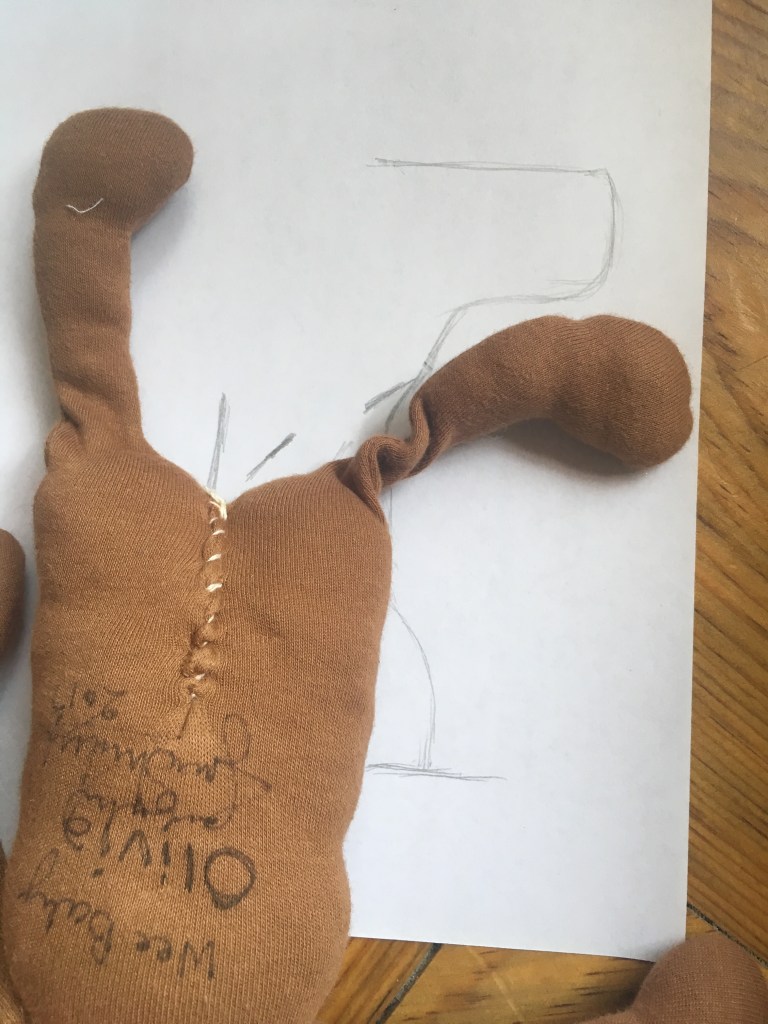
Now you can take the doll out and proceed to connect the lines and draw the side of your diaper more nicely.

Using the middle line you marked in the beginning as reference, use a ruler and make a vertical line that goes from top to bottom. This is the middle of the template.
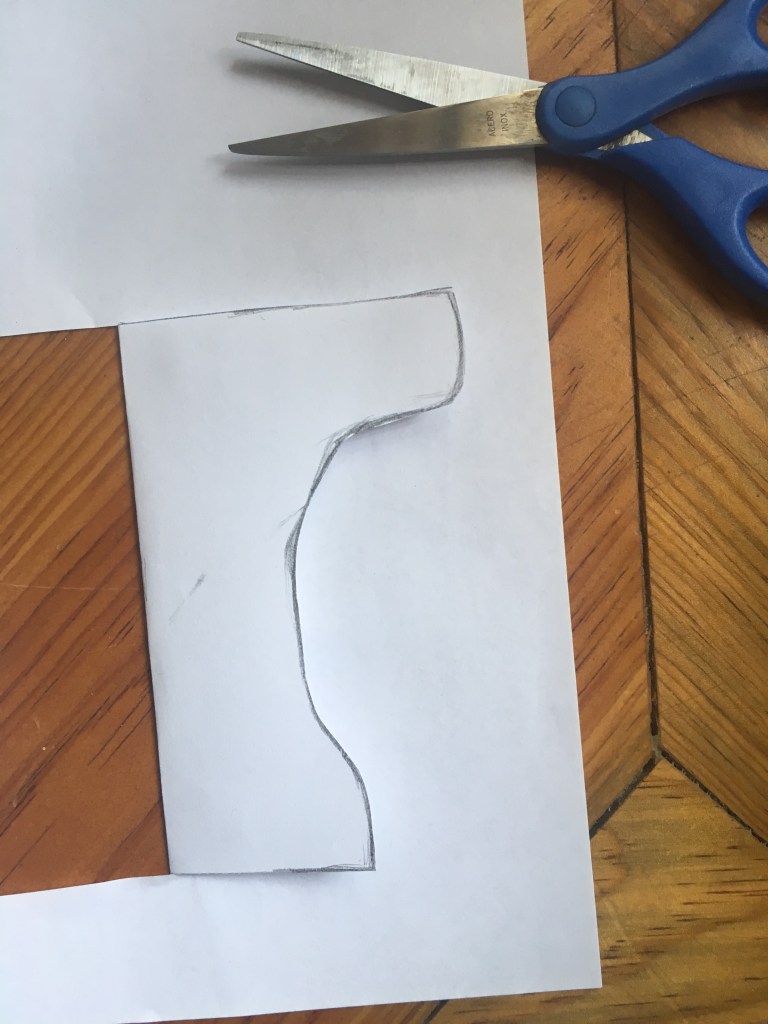
Now connect the lines from the front and back of the diaper to the middle line and you have your diaper template.
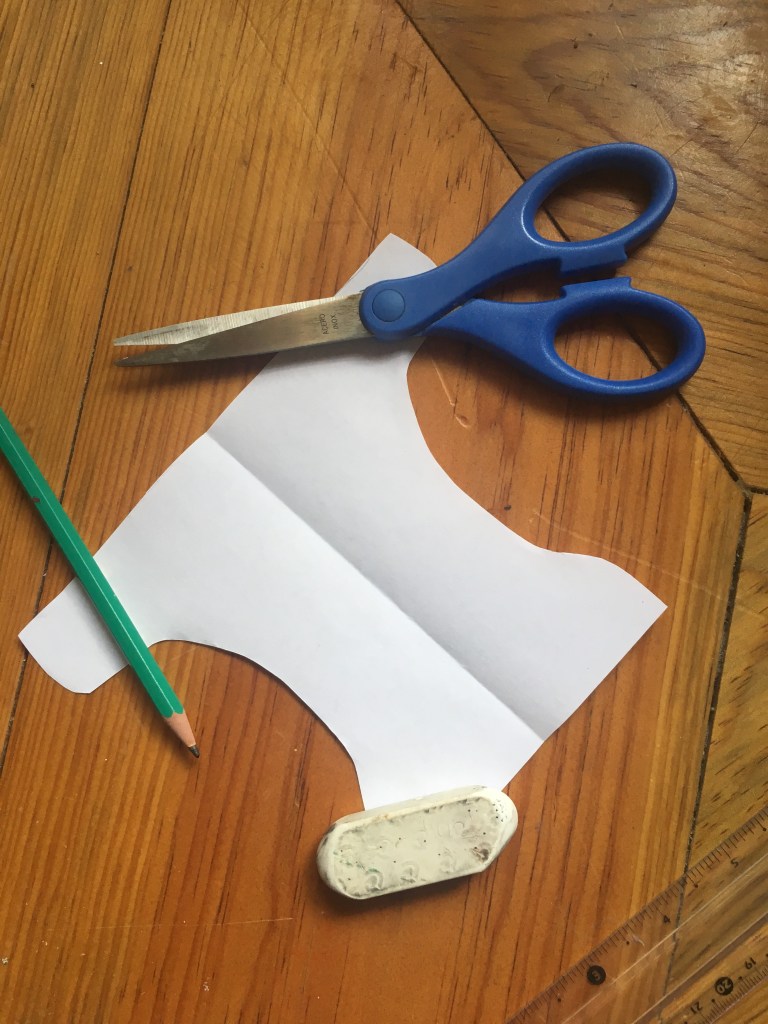
You can now cut the template like this and just fold the fabric in half and place the fold in the middle of the template. Then mark it on the fabric and cut the fabric and lining adding at least 1/4 ” seam allowance.

Or you can do like me and because this was a small pattern I was able to cut the template up to the middle. I then folded it and cut the other half of the template in the same paper. With bigger templates you may not be able to do this. However, you can cut 2 of the pattern pieces and tape them together to make the whole diaper and use it as a template.
I like to try the template on the doll just to double check that it fits the doll right.

I then trace the template on the fabric and lining, leaving (or marking) a space in the back for turning.
Cut the template with enough space for seam allowance.
Note that you don’t need to leave seam allowance, back opening, nor lining fabric if you are making the diaper out of felt. You can just cut the diaper exactly like the template and add your choice of closing (velcro, snaps, etc.)
With right sides together pin the fabric and lining together. I used the same fabric for the lining on this diaper but I usually use a different one.

Sew around the diaper over the lines except where the back opening is.
Cut the extra fabric with pinking shears if you have them or just make sure you clip the curves and sharp corners.
Turn the diaper, fold in the raw edges of the back opening and topstitch it close.

If you are going to use safety pins you are done. Just put the diaper on your baby doll and secure it with a safety pin.
If you are going to add velcro or snaps, put the diaper on the doll and mark where the velcro or snaps will go.

Sew on the velcro or put on the snaps according to the manufacturers directions. Since this diaper was for my daughter to play with and she’s only 4, I decided on velcro because they are much easier for her to maneuver.

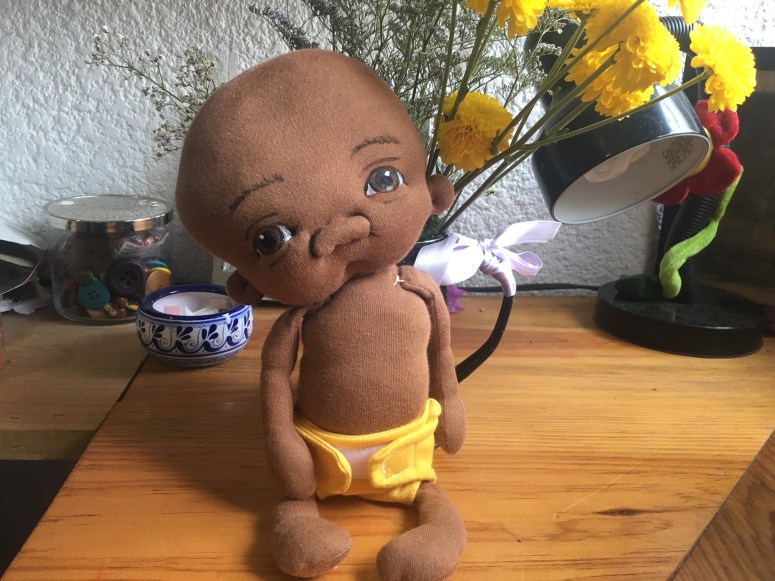
Pat yourself in the back and put the diaper on your doll!!!! Yay!!!!
This is not a Chulona doll obviously, her name is Olivia and she was made by another artist (Jan Shackelford) and is now being loved by my daughter and that is why she needed a diaper. This doll didn’t come with a proper diaper nor clothes and that is why I needed to start from zero.
If you have any questions please do not hesitate to ask. Also if you find something confusing I’m open to critiques. Remember English is not my first language so there can be some grammatical errors as well.
I hope you like this tutorial and if you make a diaper with it I would love to see it. Tag me @lachulonadolls on Instagram or find @lachulonadolls on Facebook too, so you can post a photo of your diaper for me to see.
Read you soon!
Hugs,
Aubrey
