
Remember my felt babies? I hardly do myself. Well, when I first started making dolls, I used to make wool blend felt babies like these ones in the photos below.


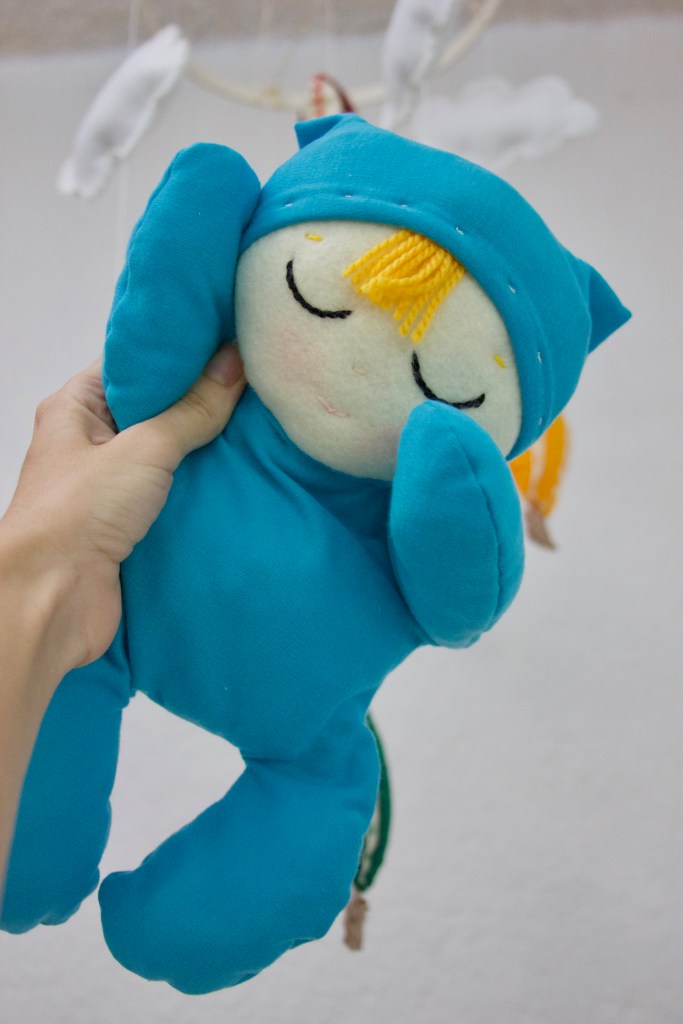
Even though I think they were super cute, I fell in love with soft sculpting and my babies took a whole different style. However, I can’t help to think that it is a shame that these babies are not being made anymore. It is an original pattern and there are no other babies like them. They are special and one of a kind, so I thought that if I am not making them for sale anymore, maybe I can just sell their patterns at an affordable price.
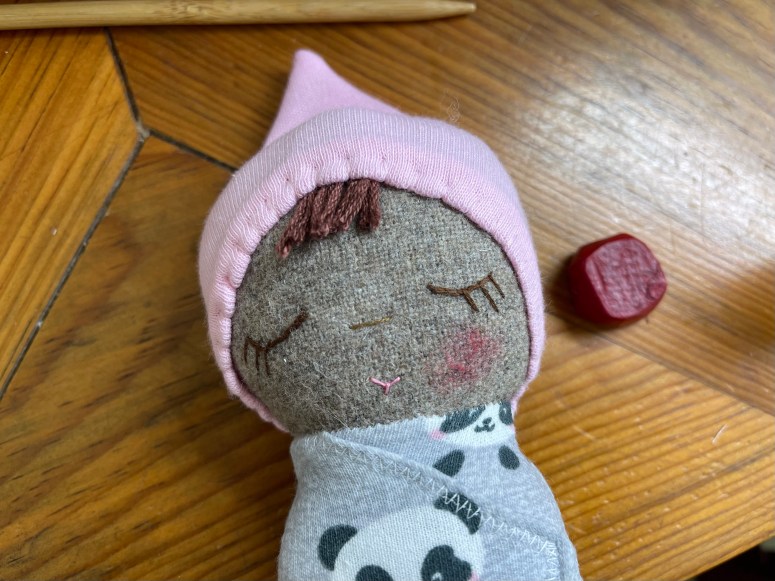
Now, I have never made a tutorial before, so before I jump into the pattern selling business, I decided to make a free pattern just to test the waters, and see what I need to improve. I made this little swaddled baby as a traveling friend for one of my newborn size dolls and thought it made be a good pattern to start out with. So here it is:
The Tiny Swaddled Baby Free Pattern by La Chulona.
Materials
- 4″x 8″ piece of woven fabric or felt in a skin color (I used a beige wool fabric)
- 8″ X 9″ of fabric for the body ( I used baby cotton flannel)
- Piece of felt or knit fabric that can go around the head for the hat
- Embroidery needle
- Embroidery thread in colors for the mouth, eyes, nose, and eyebrows
- Mercerized Cotton thread
- Stuffing. I have used both polyfill and wool in different occacions.
- Airasable pen or pencil
- Scissors
- Pins
- Sewing Machine
- Thread in matching colors to sew in the machine
- Creativeness
Hints: 100% wool felt or wool blend felts are the best options if you are using felt for this project. Pinking shears make my life easier when I cut the excess fabric before I turn the sewn piece. If you don’ have them make sure you at least clip the sharp corners and curves.
Instructions
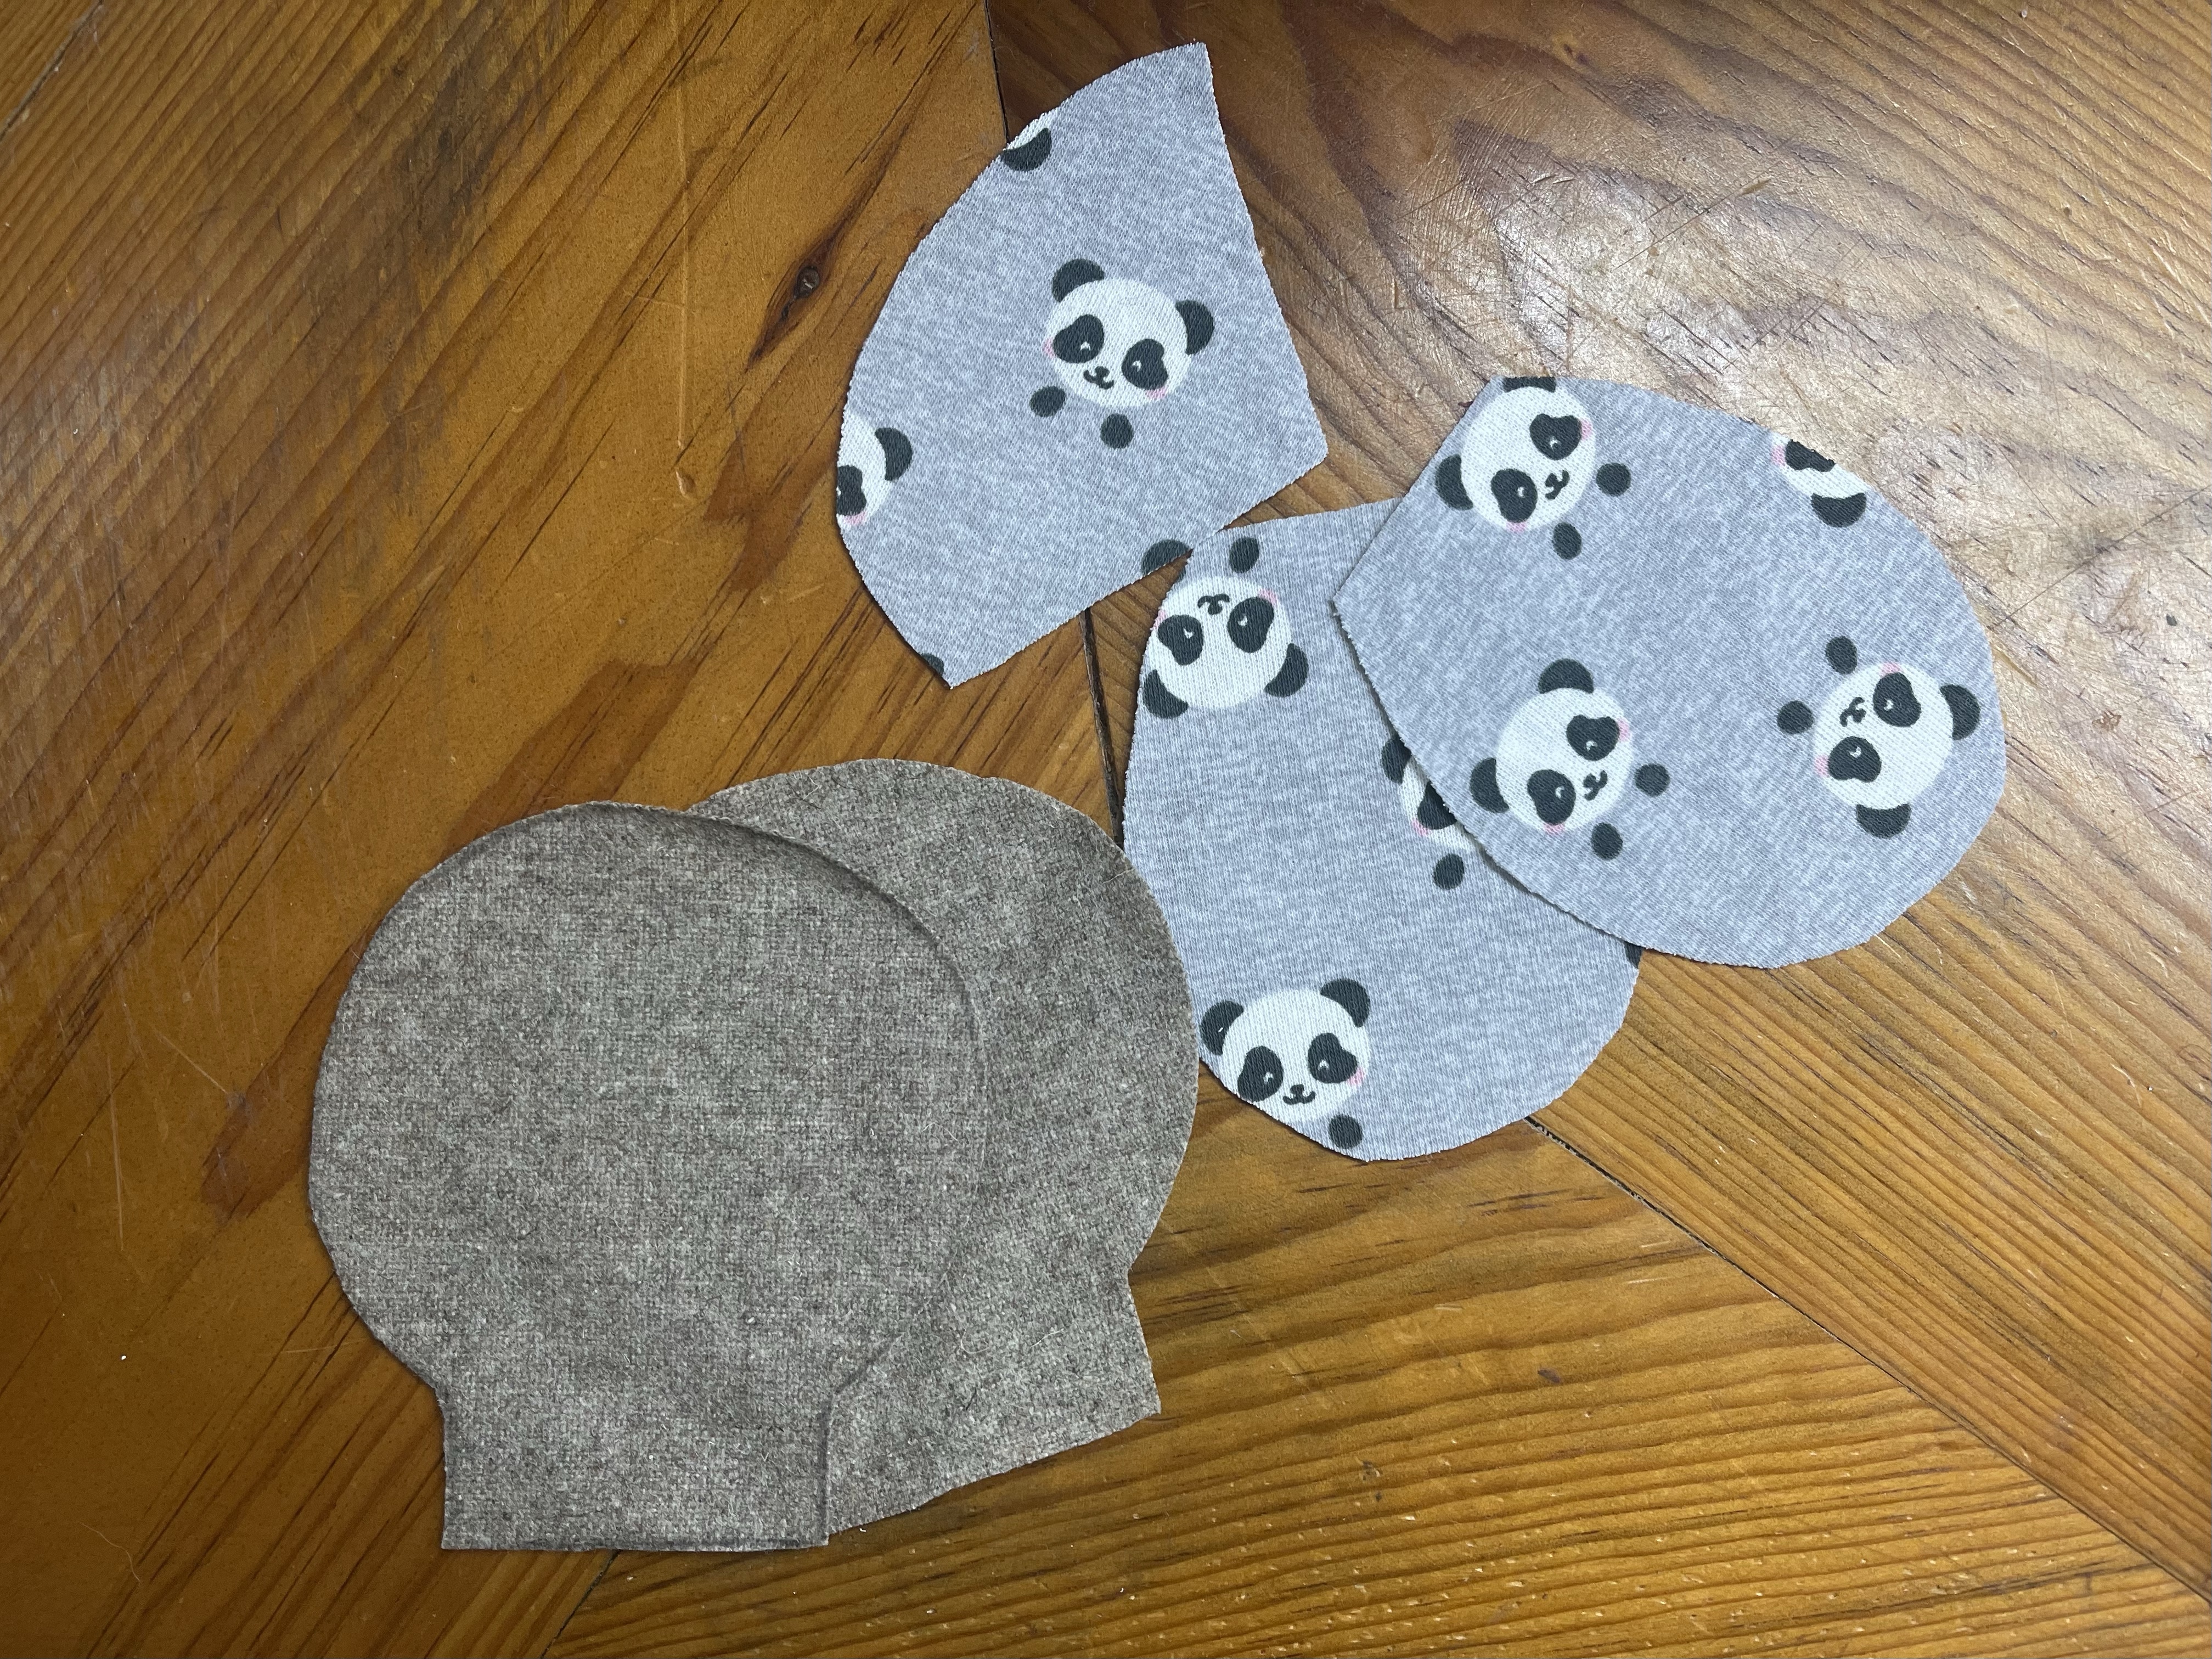
1. Cut your pattern pieces. They already have a 1/4 inch seam allowance.
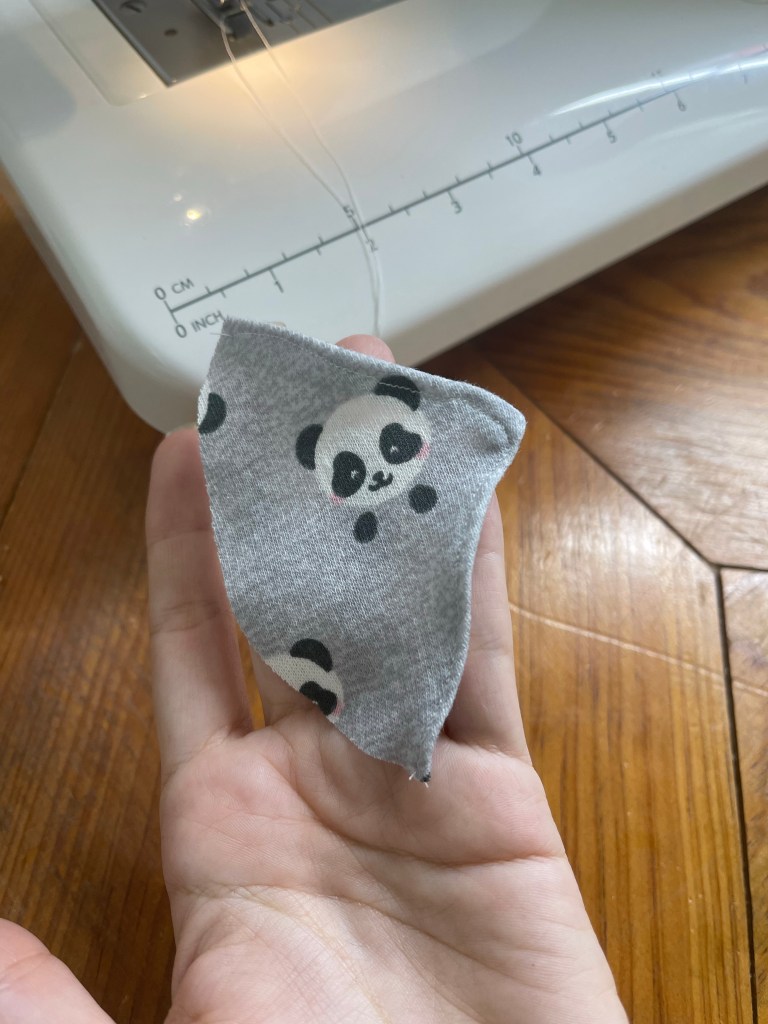
2. Fold that pointy side of the over layer about a 1/4 inch into the wrong side, pin and sew in place.


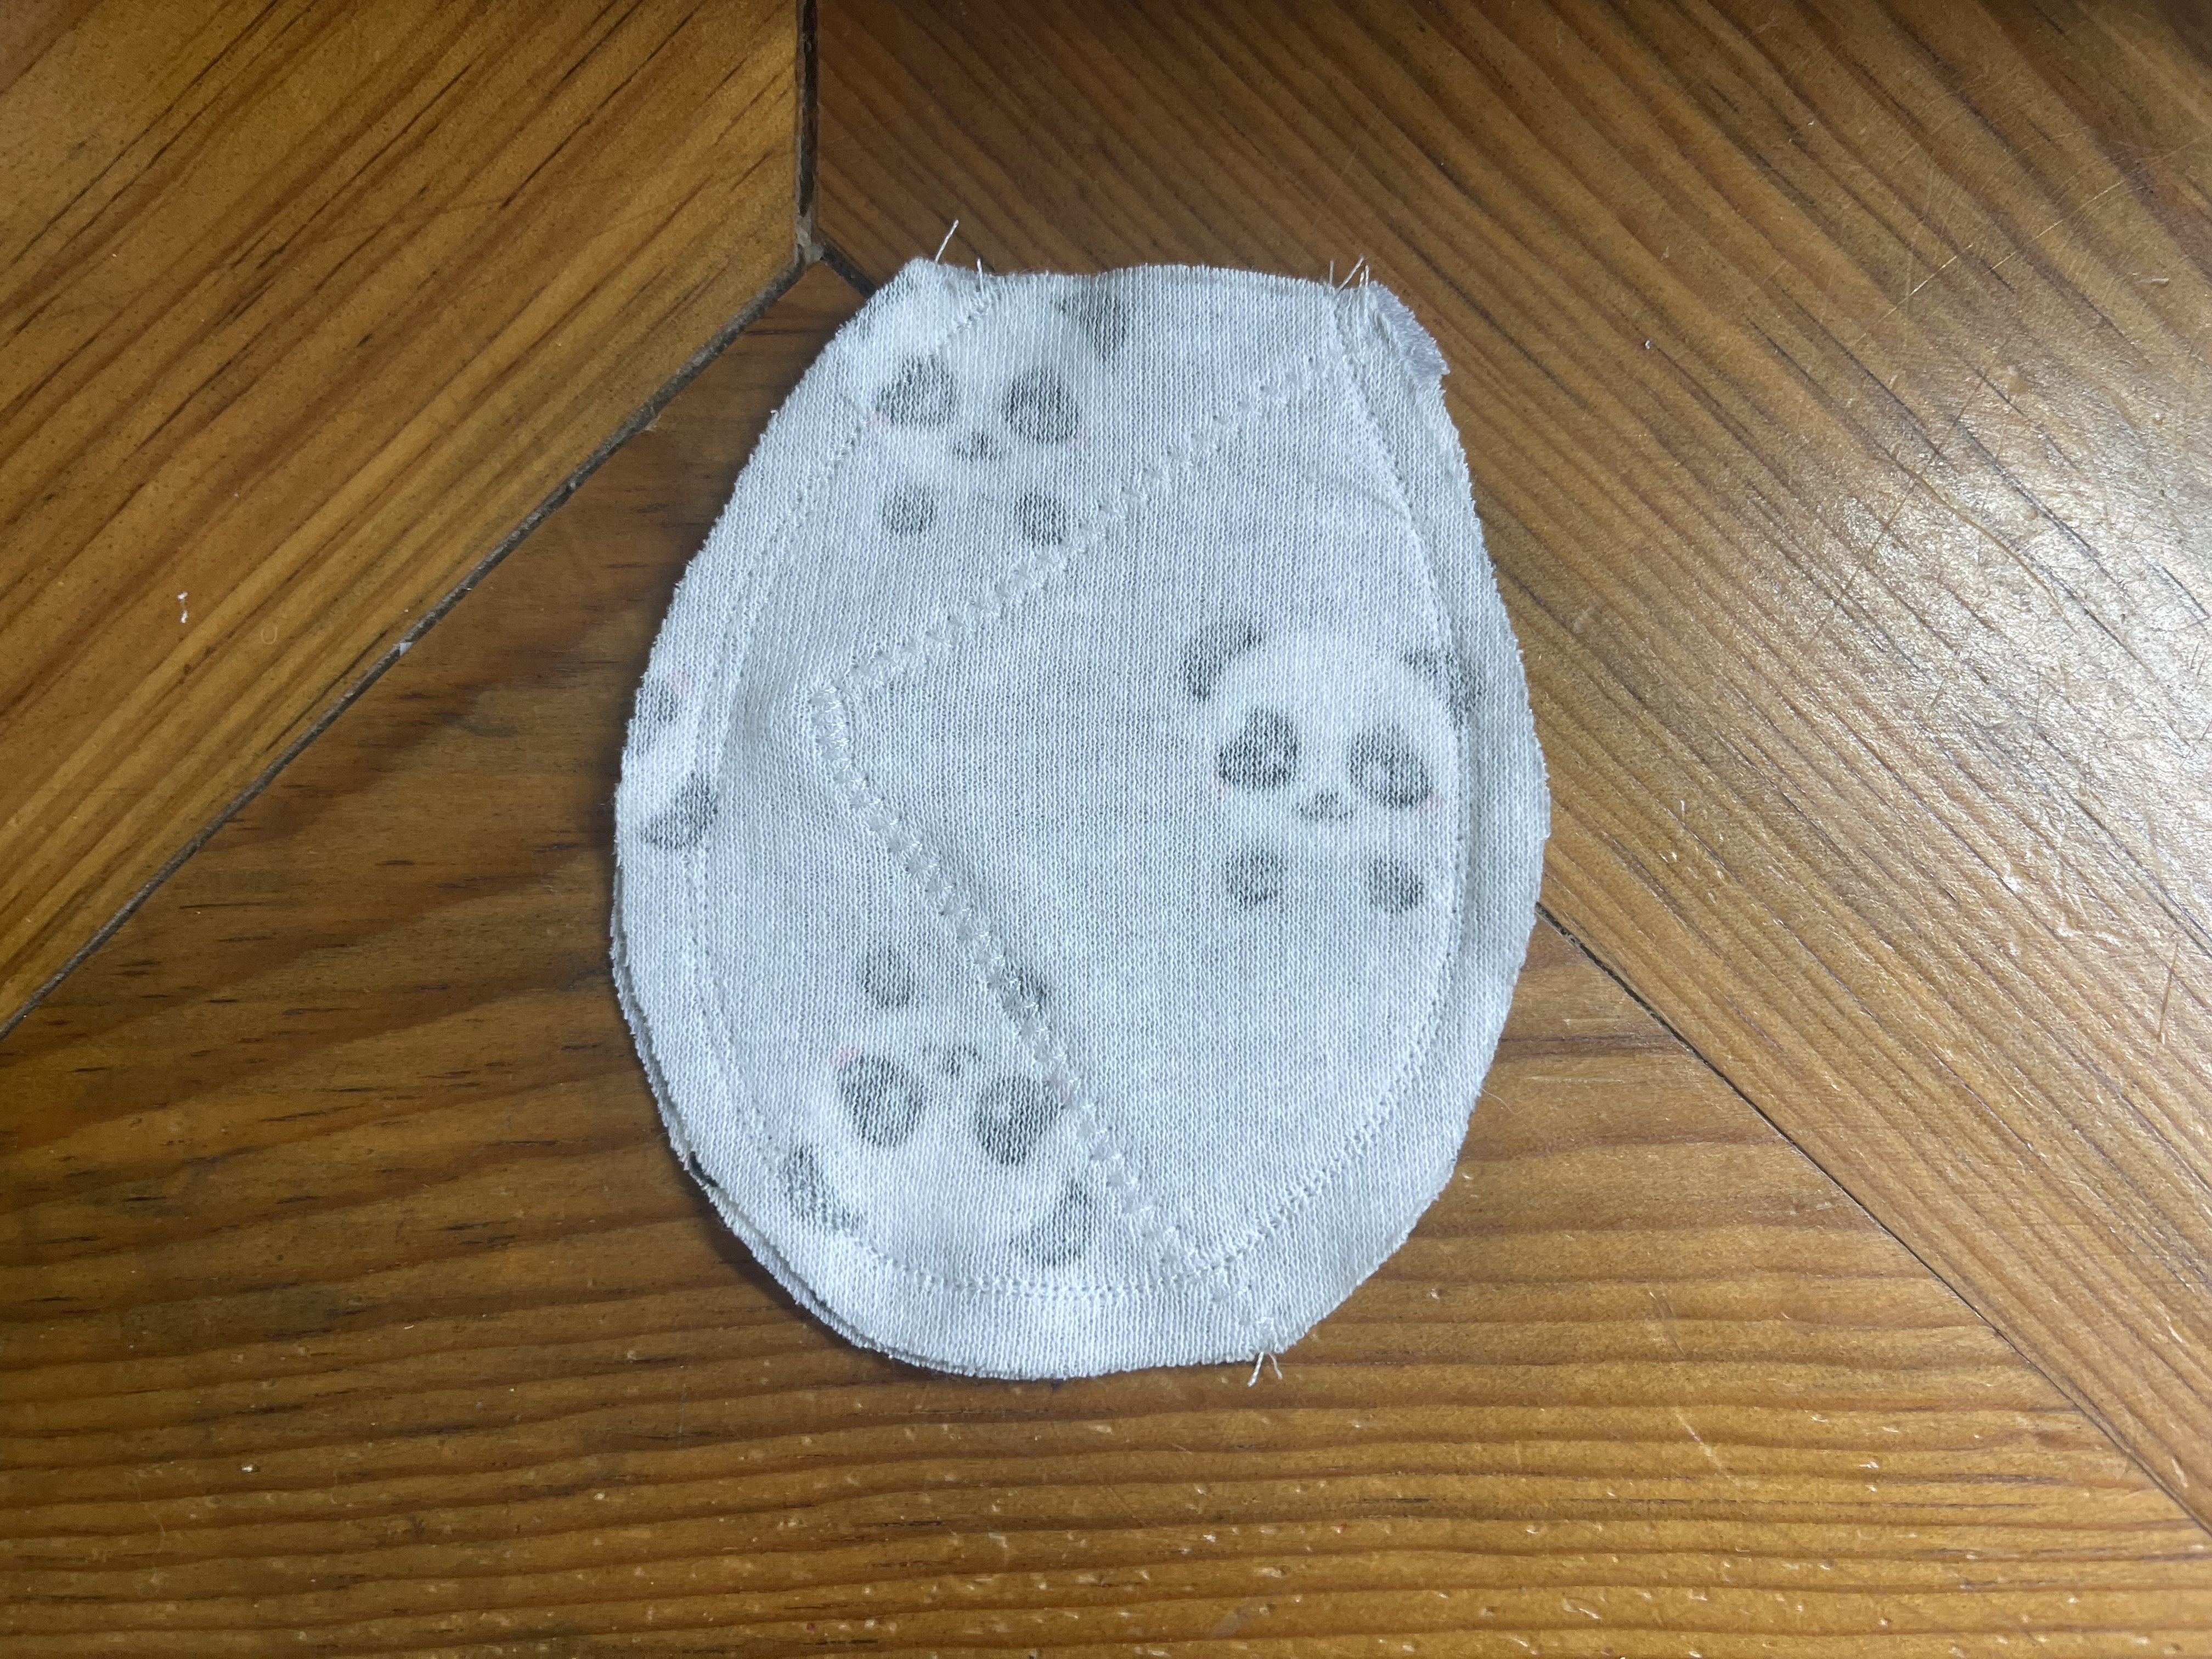
3. Place the the wrong side of the over layer of the swaddle piece over the right side of one of the main swaddle pieces and sew in place (if you are using a fabric with some nice prints make sure you select the front piece carefully). I like to stitch this with a zig zag stitch. I think it looks nicer.


4. Put right sides together of the body pieces, pin, and sew. Cut excess and turn it.

5.With right sides together, pin and sew your head pieces together.

6. Cut excess fabric turn and fill the head. Close the neck with your favorite stitch.
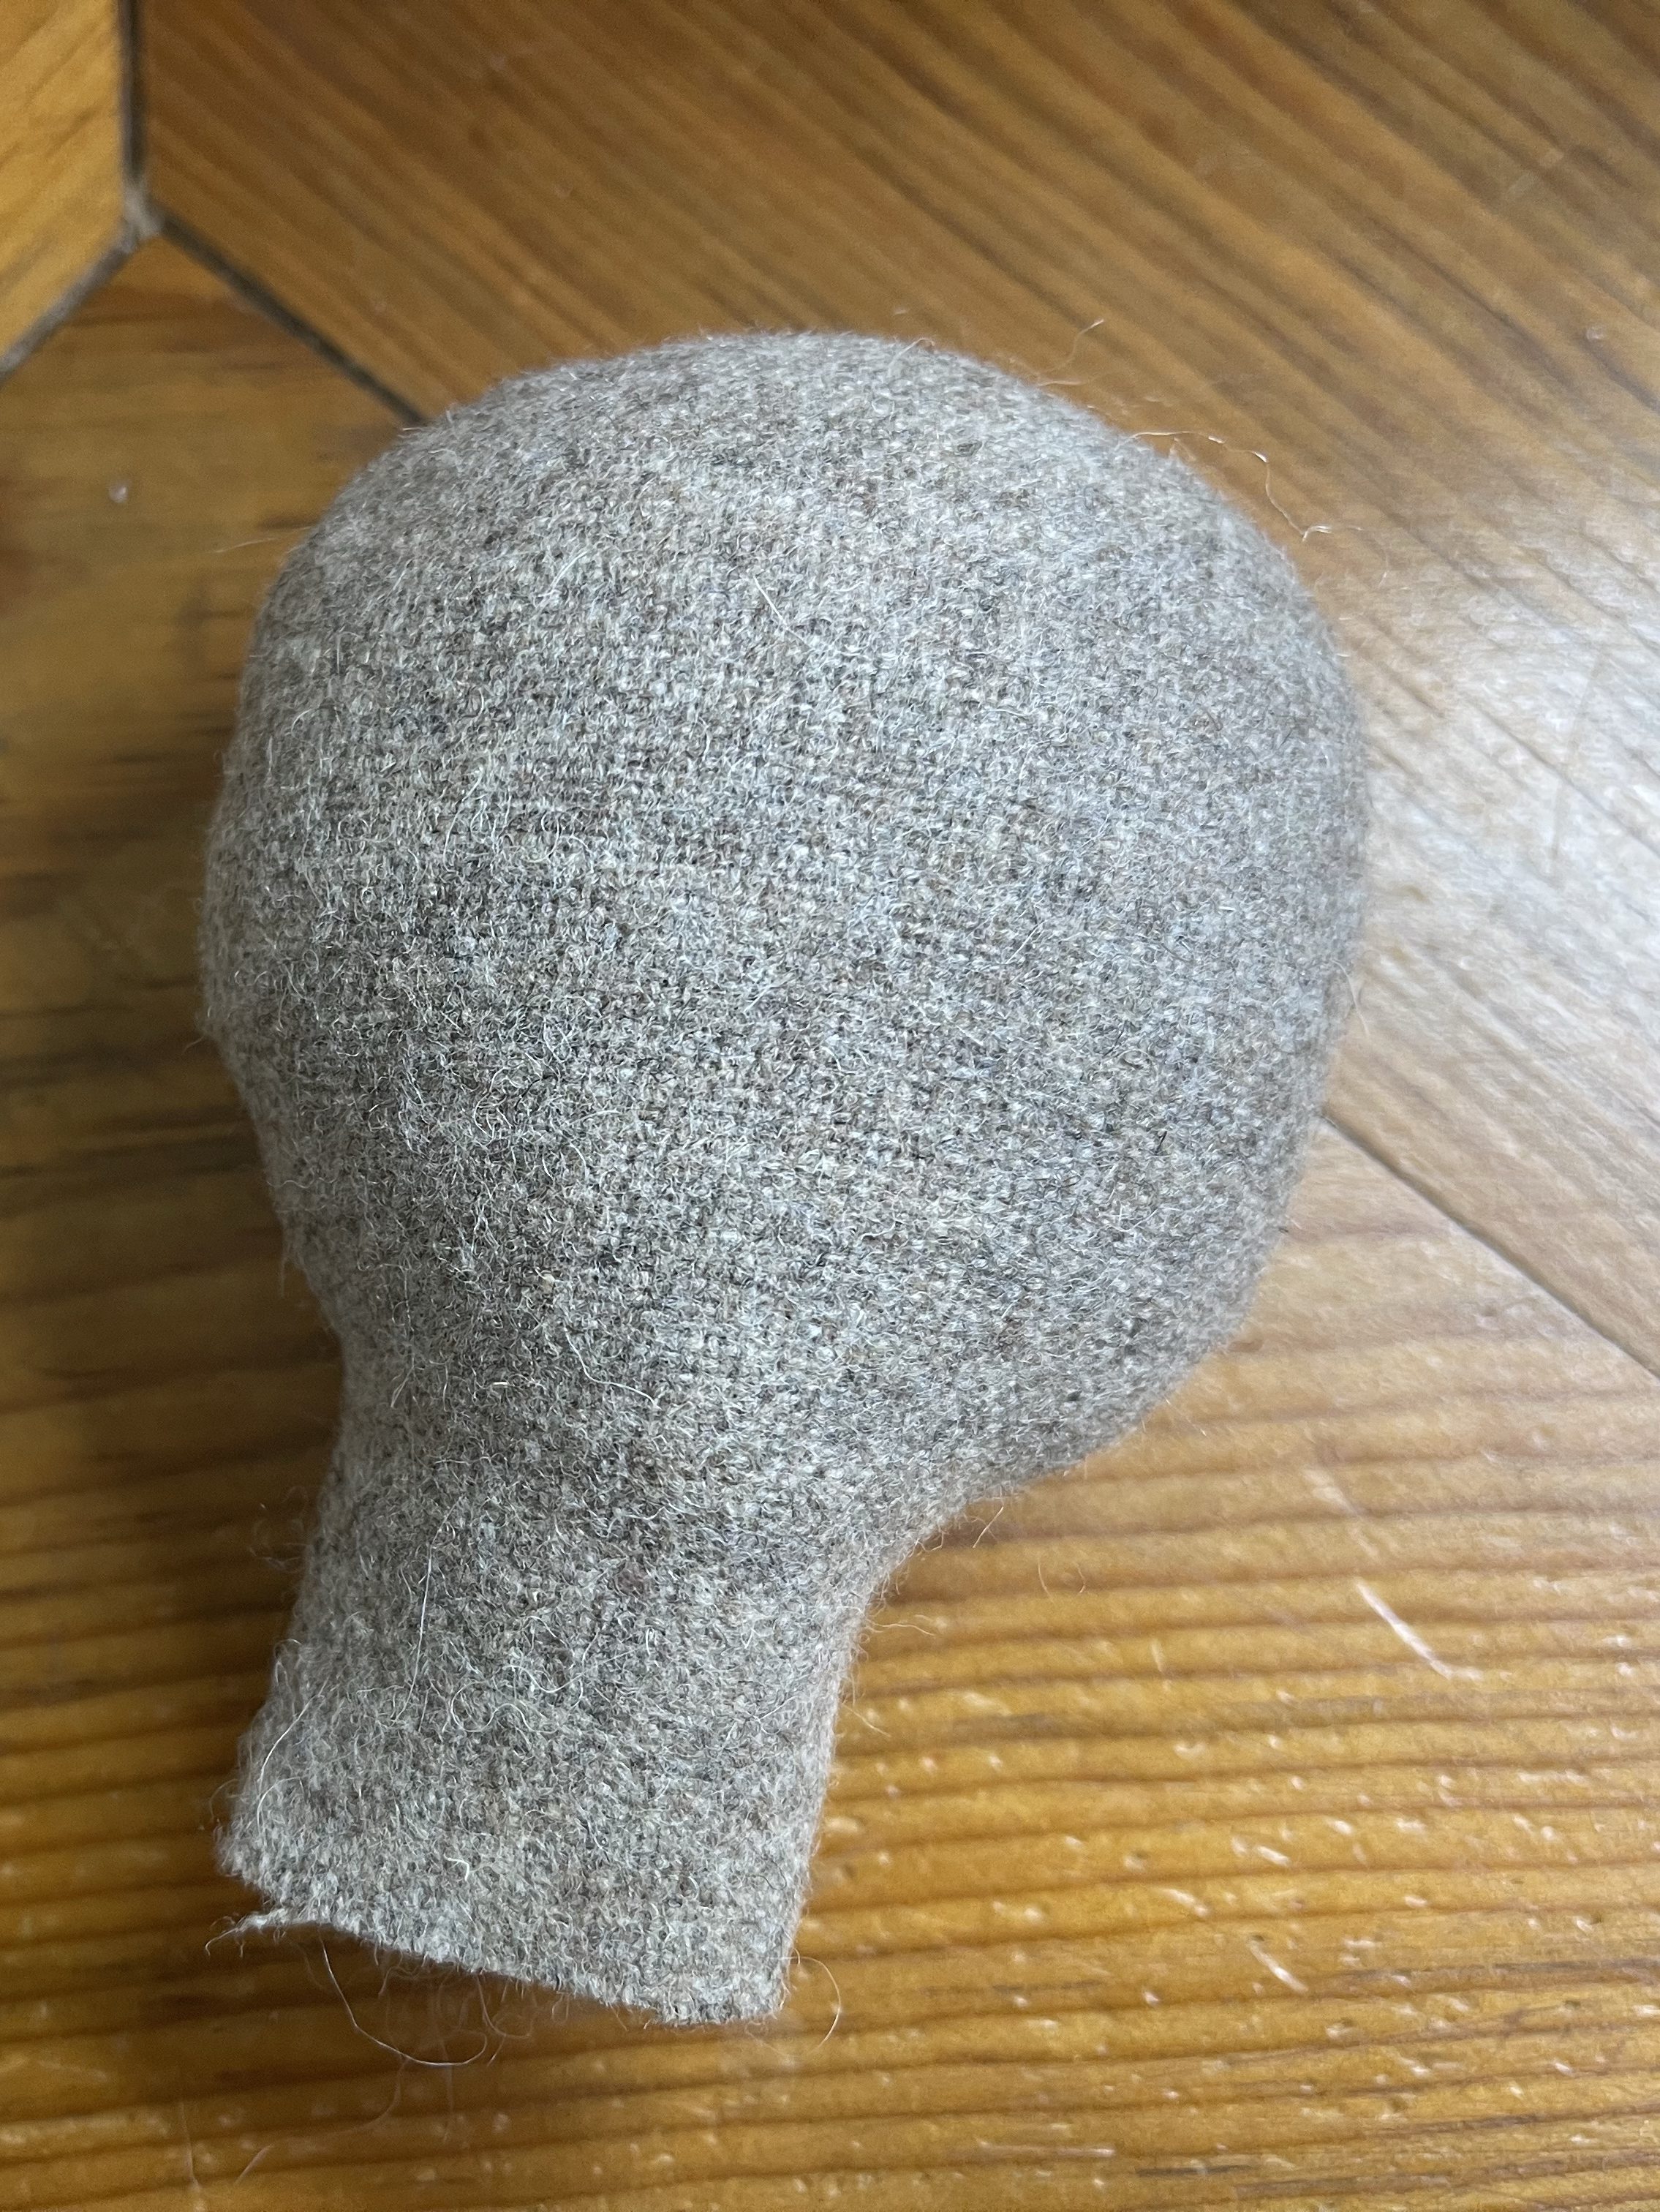

7. Fill the body leaving some space for the neck. Fold the top of the swaddle body to fit the neck of the baby. This is really to your liking. I like my baby to have the swaddle close to the mouth, so I pull the swaddle up more, or you can fold it lower too. Once you have the placing you can use the template in the pattern or hand draw it by measuring the distances with measuring tape.

To use the template, put it over the head and with an airasable marker or pencil mark where the dots are. You can then connect the dots with the marker. Make sure you make a slight curve down when making the eyes. I rarely use a template when making such small faces, if you would like to see how I do it jump to step 11.
Hint: The lower you place the face the more babyish your doll will look.

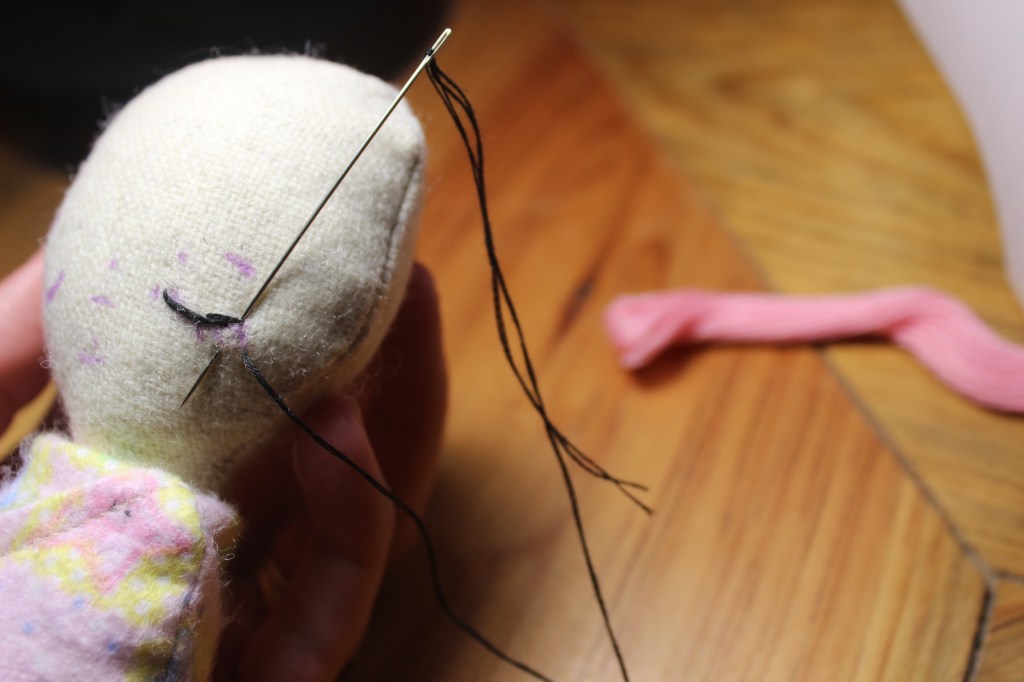
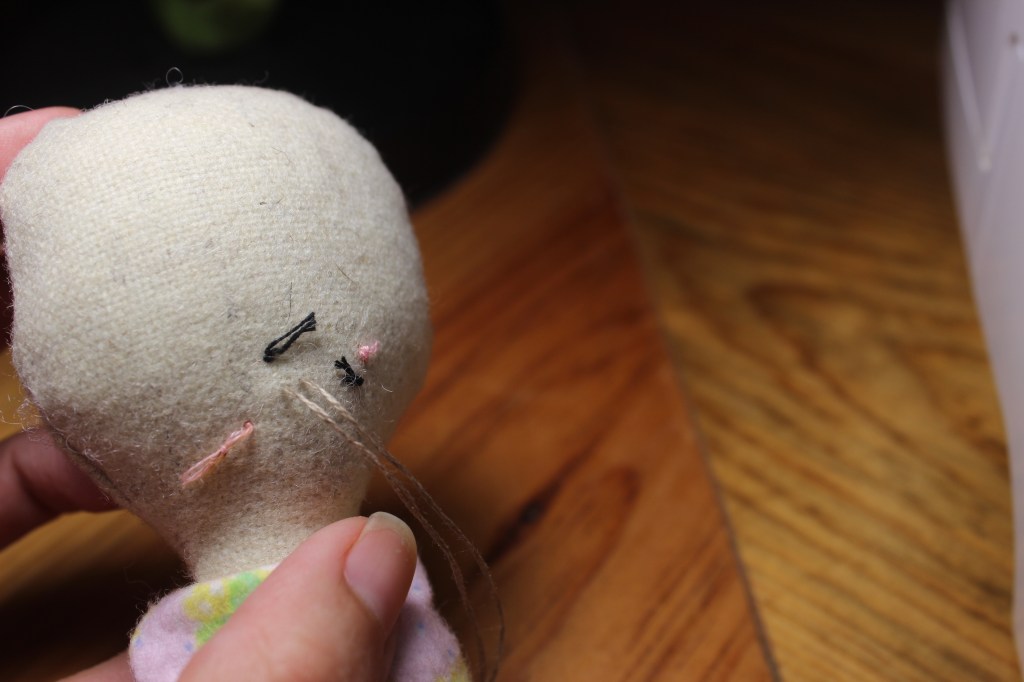
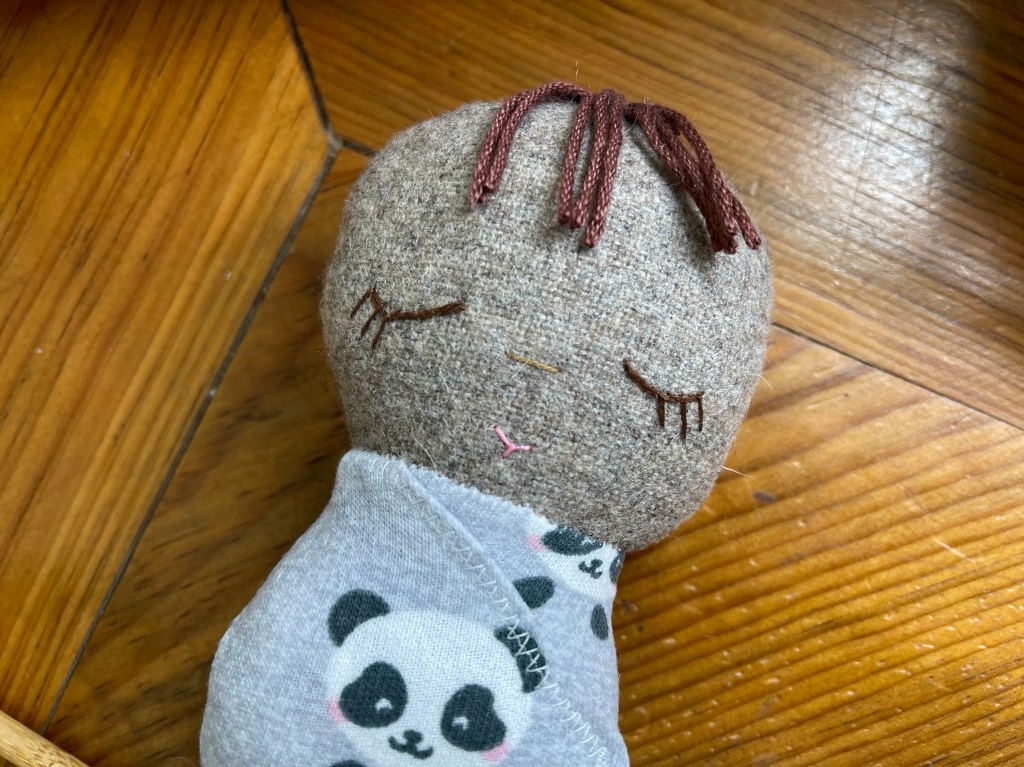
8. Take 1 or 2 strands of embroidery thread (I don’t recommend using more because it will look bulky) and thread a needle making a knot at the end. Insert the needle either in the back of the head or the neck and come out in the inner corner of the eye. Use either a back stitch or a stem stitch to make the eye. If you want to make the eyelashes, once you finish the eye, insert the needle in the corner of the eye and come out at the corner of the eyelash. I make each eyelash with just one stitch, you can make as many eyelashes as you’d like. Once you are done take the thread to the back of the head or neck and secure it there.

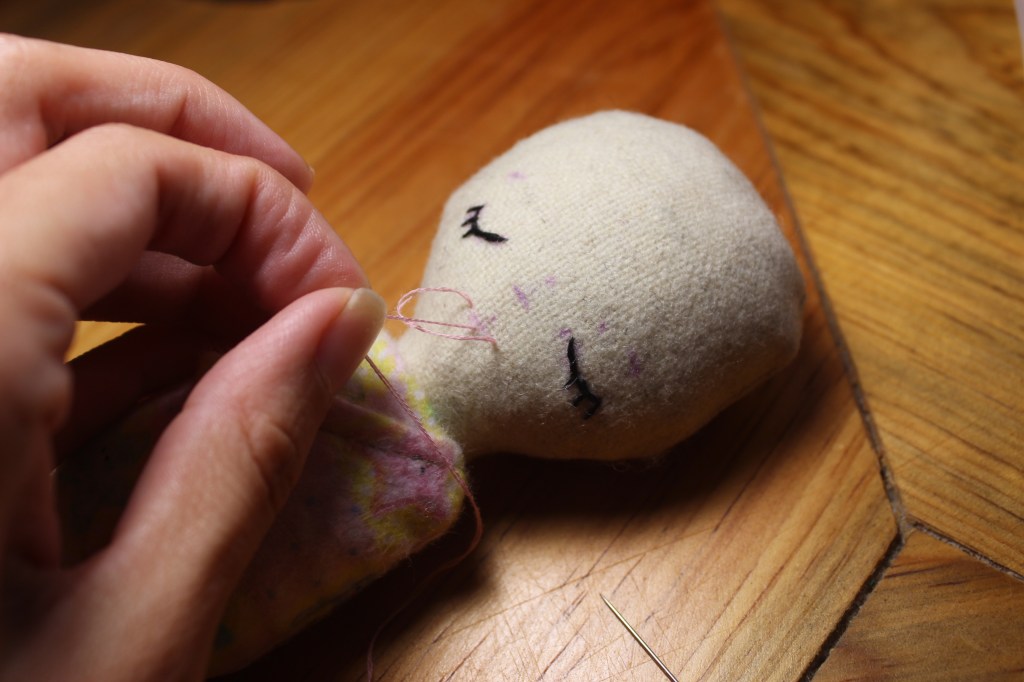
9. To make the mouth insert the needle in the back, come out in one corner then reinsert it on the other corner but this time come out in the center of the mouth just slightly lower (don’t go to low or it will look like a “V”) . Don’t pull the thread complete, leave a loop. Then take your needle and go up and under the loop. Gently pull the thread down to make a curve, then reinsert the needle at the bottom of the mouth and come out at the back of the head and secure.


10. To make the nose and eyebrows I just take a long piece of thread, insert it in the back (no knot) but leaving a tail. Come out at one end, then make a line by going in the other end and then I tie the ends together in the back. Don’t tie it too tight so the thread doesn’t sink in the fabric.

If you used the template jump to step 16.
11. I am terrible at using templates so what I do is I find the lower center of the face by measuring the head and I place a pin in the center. This is my nose mark.
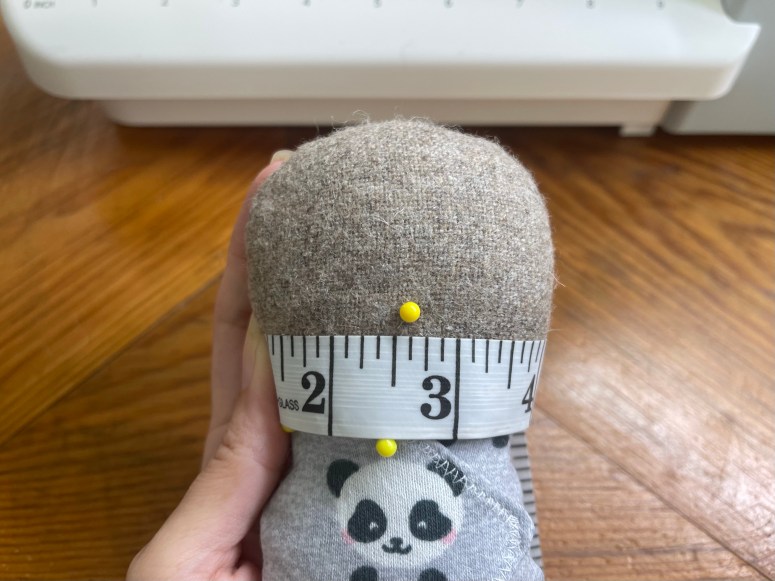
12. I then go a little lower and place a couple of pins marking the mouth. As you can see I divide the center of the mouth placing a pin on each side.
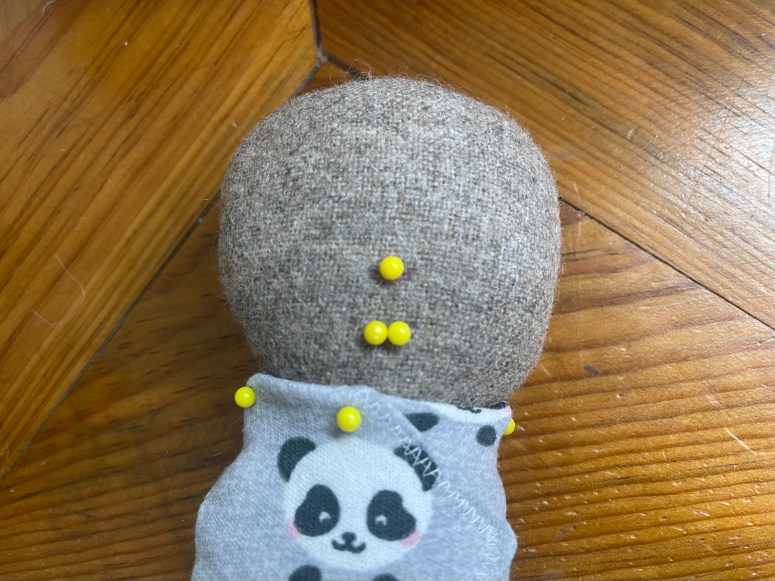
13. Then I grab my measuring tape again and decide where I want my eyes and mark each corner of each eye with a pin.

14. With my airesable marker I make:
a. One dot on each side of the nose pin.
b. One dot under the center where the mouth pins are place.
c. One dot on each side slightly up to the mouth pins.
d. One dot over each pin that marks the eyes.
15. Take out the pins and connect the dots. I like to make the eyes and mouth a little round but you can do them straight if you’d like.

Go back to step 8 to embroider the face.
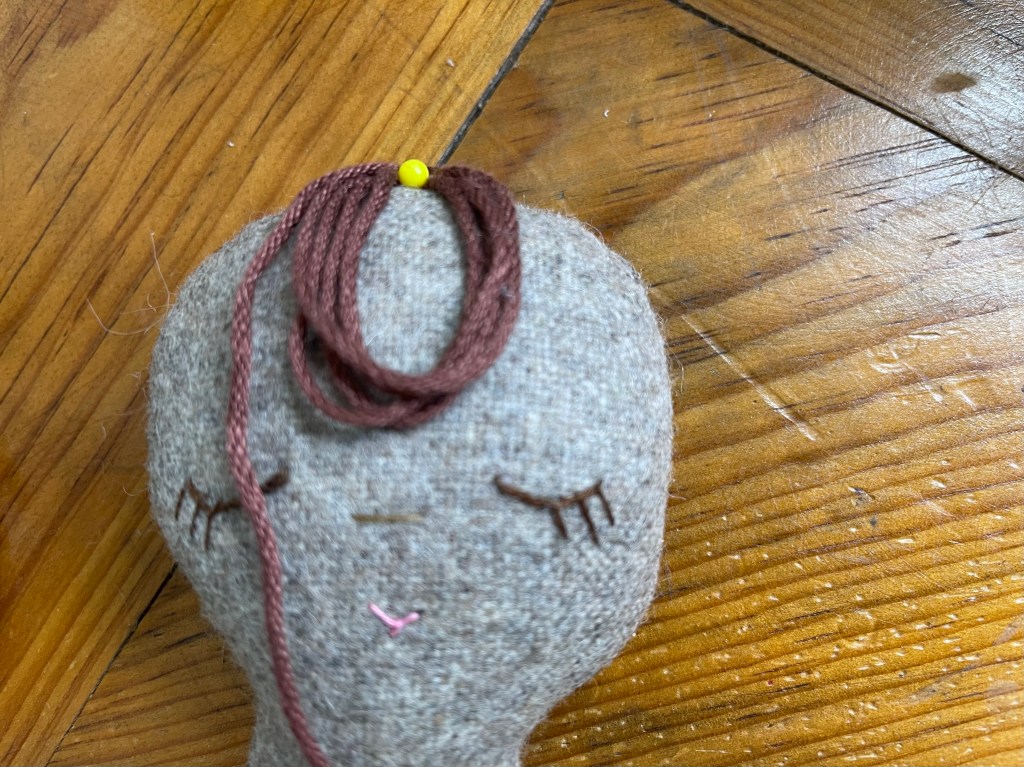
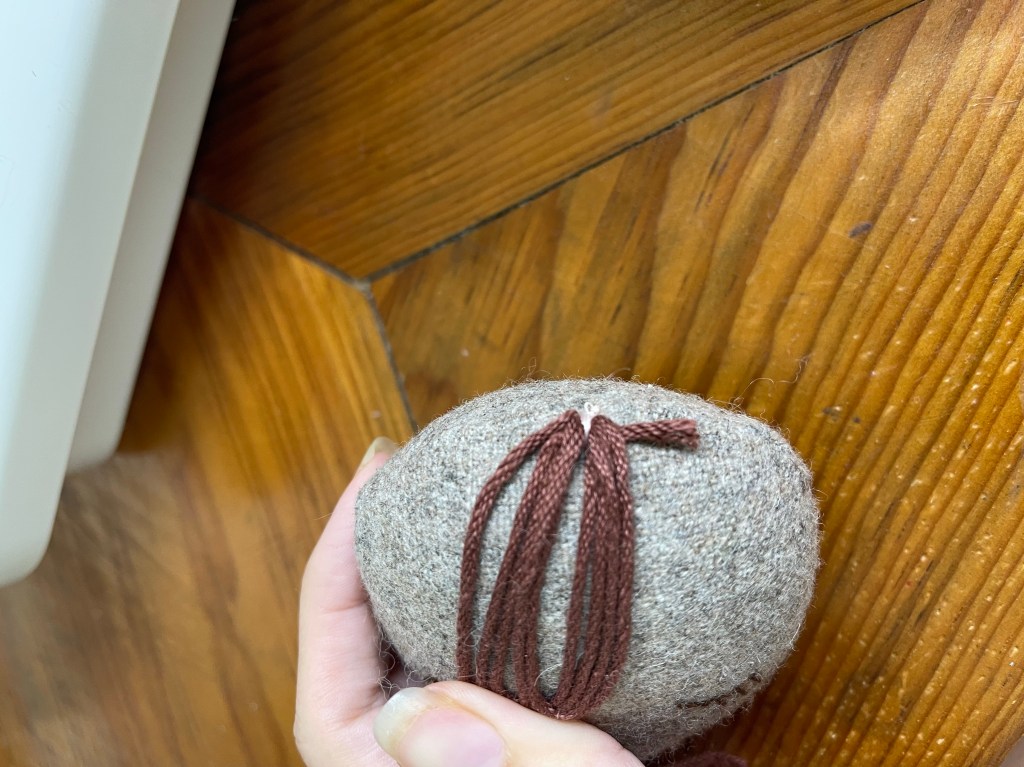
16. To add hair simply take a long piece of yarn and fold it a couple of times. Place it on the doll like in the photos below and sew them in place.
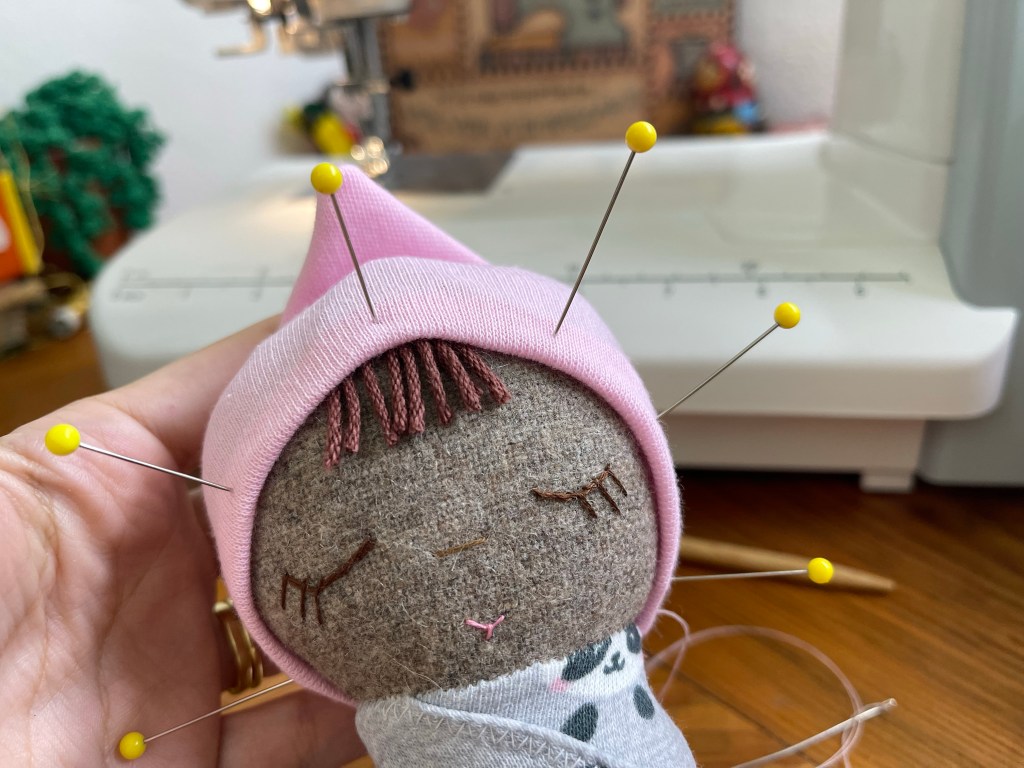
17. Take a piece of felt or knit fabric big enough to cover the entire back of the head and place the wrong side on the doll where you think it looks good. I like to fold the edge up so I don’t get raw edges. Pin it in place and then pin the back close like in the second image. Take it off and sew where the pins are. Cut the extra fabric and turn.


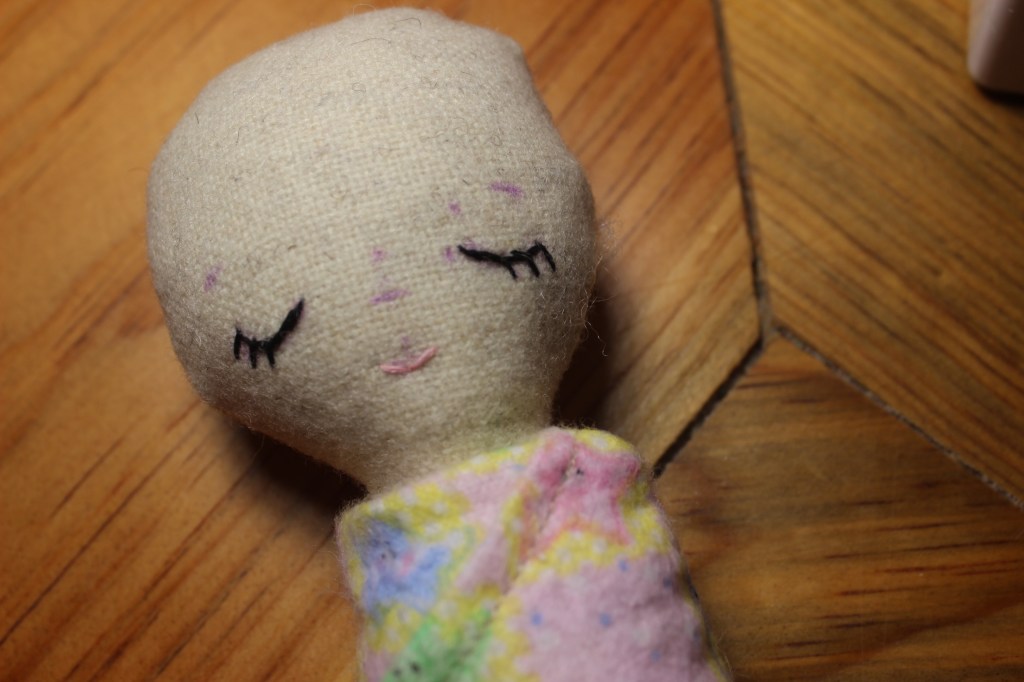
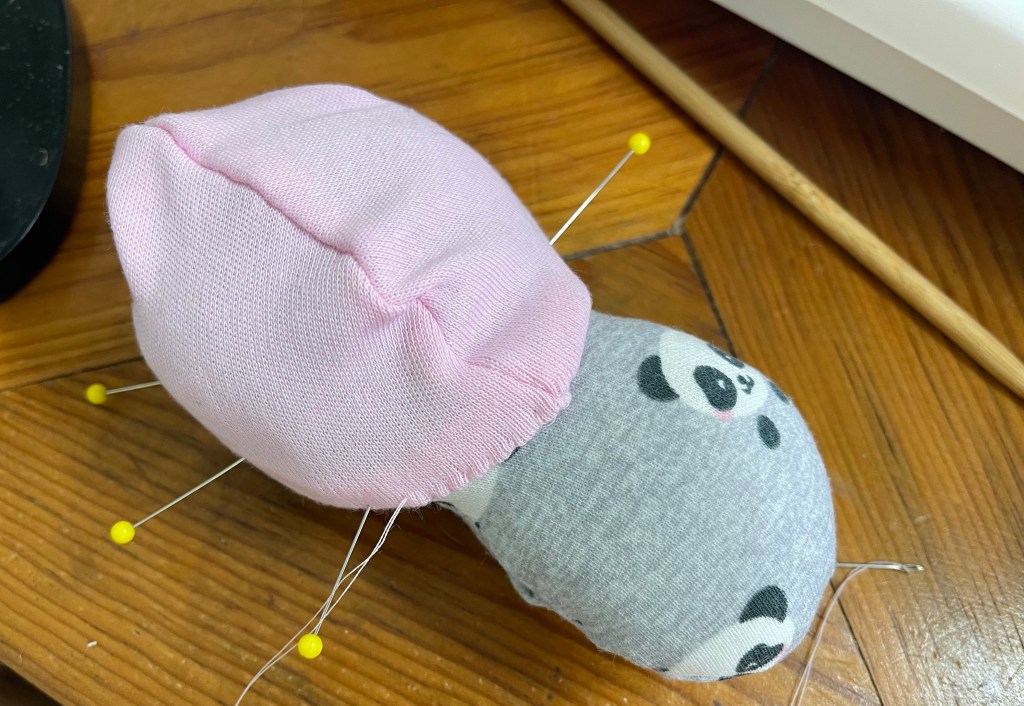
18. Pin the body and head in place and sew them together with a ladder stitch. I recommend doing two rounds to make sure it holds up strong. I also like making smaller stitches in the second round to make it look nicer.

19. Place hat where you want it, pin and starting in the back sew it in place with your favorite stitch. I used whip stitch with this doll but I used a back stitch with the one with the yellow hat. This is really up to you because different stitches will give different finishes and that can customize your doll. Secure the thread under the hat in the back.


20. That’s it! You finished your little dolly! If you would like to blush her, I recommend you use some non toxic crayons like beeswax crayons or even Crayola.

I hope you like it!
This was my very first pattern and tutorial so I wanted to revise it to make it easier for everyone to follow. If you have any questions, please do not hesitate to ask. If you make a dolly using this pattern I would love to see it. You can post it on my Facebook page La Chulona Handmade dolls or tag me on IG @lachulonadolls.
You are free to use this pattern to make dolls for sale, I just ask you give me credit for any dolls made with it.
Please, don’t sell the pattern, I think it’s obvious, but nowadays you never know, LOL!!
If you like this pattern, you may want to check out my pattern shop on Etsy. I will be adding new patterns every now and then
You can also now join me on my Patreon channel where we talk about tips, tricks, inspiration, creativity, and more. All about doll making and baby dolls of course.
Read you soon!
Hugs,
Aubrey

Que emoción muero por hacer la mía gracias un millón por compartir ❤️
LikeLike
Me dices como te fue o si tienes preguntas. Así sé si lo tengo que mejorar! 😘😘😘
LikeLike
Muchas gracias ; me encanto
LikeLike
Que bueno! Me enseñas como te queda si la haces 🤗😘
LikeLike
gracias,me encanta sus bebitos
LikeLike
aww! Muchas gracias! Que lo disfrute 🤗❤️
LikeLike
I can seem to find the right place where I can download the pattern 🤔?
LikeLiked by 1 person
Hi,
Under the materials, click on where it says littleswaddlebabypattern. It is #9 under materials. Thank you. I hope you like it!
LikeLike
This is wonderful! I am sharing with my mom, who is a senior. She lives alone and doesn’t really have a social life. I think making some of these dolls for her grandchildren might make her happy, so thank you!
LikeLiked by 1 person
Aww! Yay. So happy you like it. I hope she does too. ❤️
LikeLike
By chance do you have these instructions in Spanish?
LikeLiked by 1 person
No, unfortunately I don’t. I found it difficult because I learned most of the terms in English and there are so many ways to saying the same thing in Spanish depending on the country. I just couldn’t decide on the terms to use. You can always try copying and pasting it to Google translate.
LikeLike