
Bruno, the last baby boy I made was supposed to fit into preemie clothes, but he really didn’t, he turned out too small for them. I really didn’t have the time to make him cute clothes so I opted to alter the preemie clothes I already had for him. I took some photos and decided to share it with you all.
This will work if the baby doll is a little smaller than the clothes. I don’t think it will work for let’s say a miniature doll, since the proportions are way too different. Also it’s better if you have preemie or small newborn clothes. I believe it would be much harder to make this work with clothes for a 6 month old baby. Yet, you are more than welcome to try.
Here you can see a photo of the doll with the shirt before it was altered. This baby is 15 inches and the clothes are preemie size.
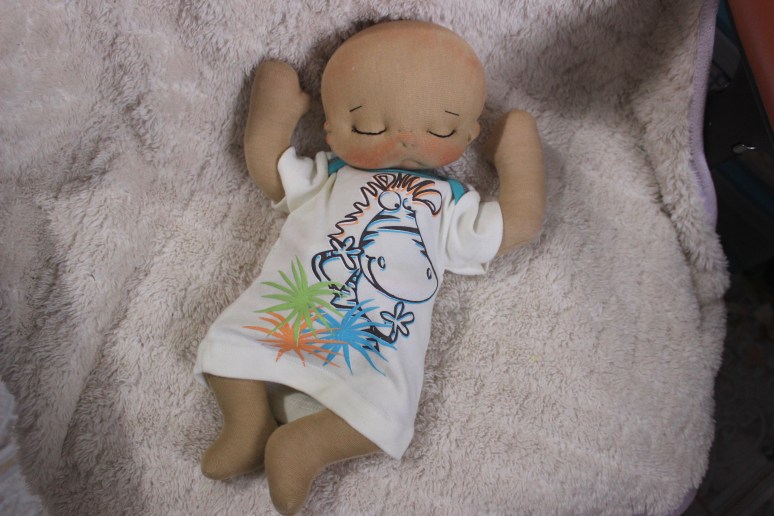
As you can see the shirt was a little wide and too long for the doll. So I decided why not make it a onesie.
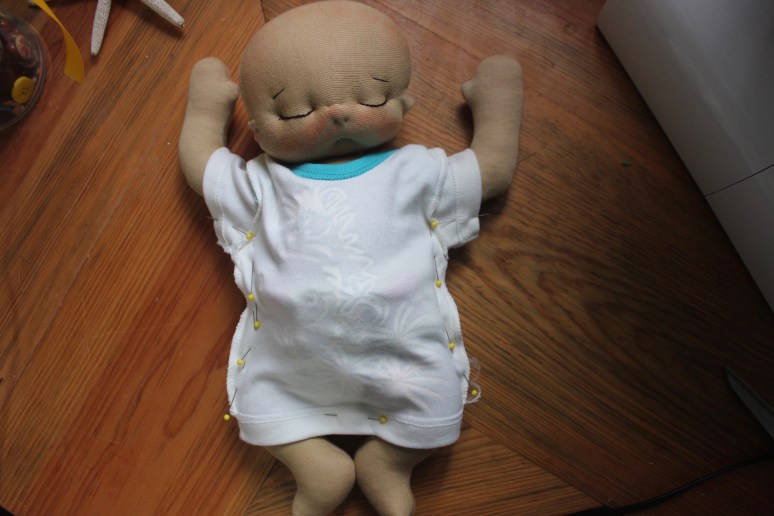
I turned the shirt inside out, put it on the doll and pined around the silhouette of the doll. I made sure it wasn’t too tight because babies need room to move in their clothes. I also made sure the arms fit the arm holes with the pins on. This is actually very important. You don’t want to make the sleeves smaller and then find out you can’t fit the arms through the holes. Since I decided to make a onesie I also put a pin at the bottom.
Then I took the shirt off carefully marked the silhouette with an air erasable marker and sew on the line. I then cut the extra fabric. If the clothes are made of knit fabric is better if you sew them with an elastic stitch or a small zig zag stitch. If the clothes are of a woven fabric make sure you finish the edges with a serger or zig zag stitch so they don’t fray.
 I always cut the extra fabric with pinking shears to save me time with the clipping of the curves and corners. If you don’t have them make sure you clip the corners and curves.
Now you can turn the shirt right side out. If you just want to make a shirt you can fold the hem to the desired length and sew it in place. Because I wanted a onesie I marked where I wanted to close it and then attached some velcro to make it easy to open and close. Because this doll was made to be child friendly I used velcro but I think snaps or buttons will look even cuter for a collector’s doll or an older child.
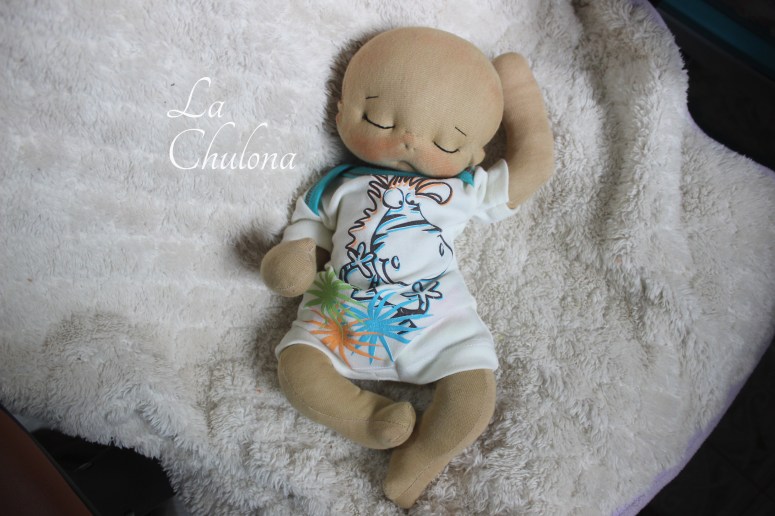 The onesie is done.
Now, to make the pants I went through basically the same steps.
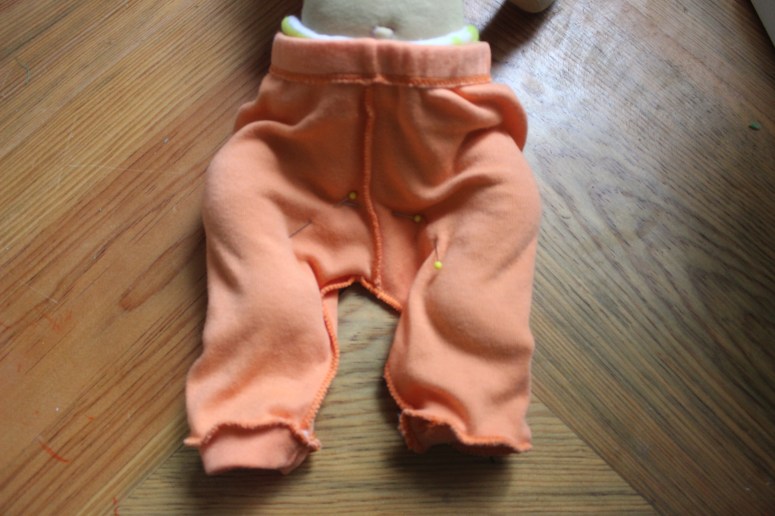 I put the over sized pants on inside out and marked them with pins.
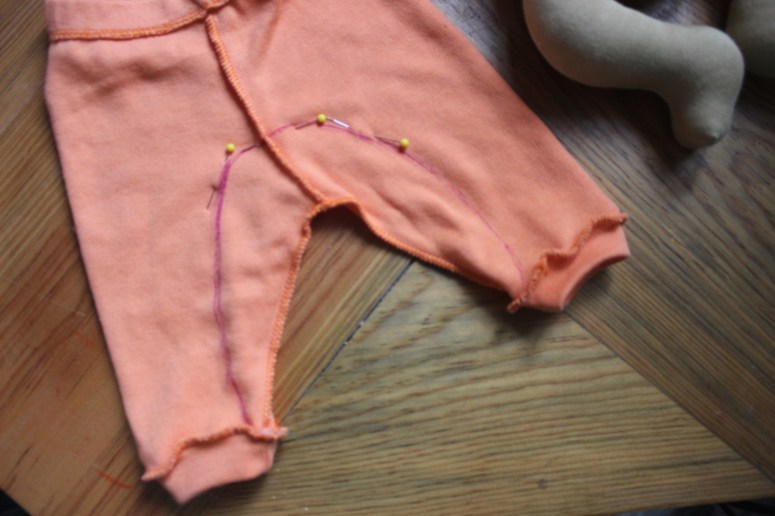
 I then took them off, marked the line with an air erasable marker and sew along the line. I decided to sew only up to right above the ankle cuff because I wasn’t sure if I was going to hem the pants or not. I’m glad I did that because in the end I decided to keep the original length of the pants. However, if after you turn them right side out, you put them on the doll and you still think they are too long, just mark the length you want. Take the pants off and hem the legs.
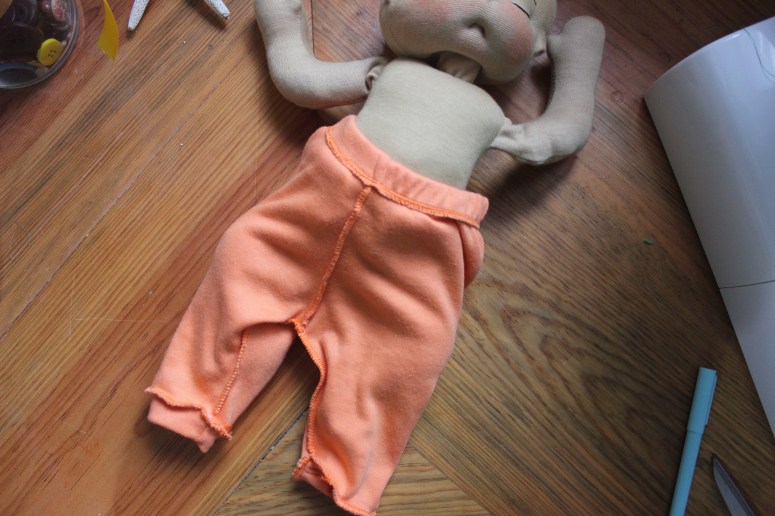
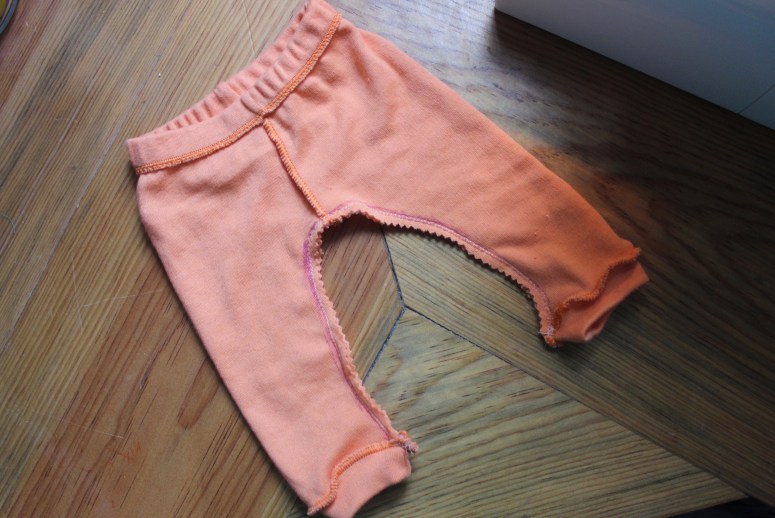
These are the pants finished. Like I said before, I like baby clothes to be loose on my baby dolls. It makes them look more baby-ish.
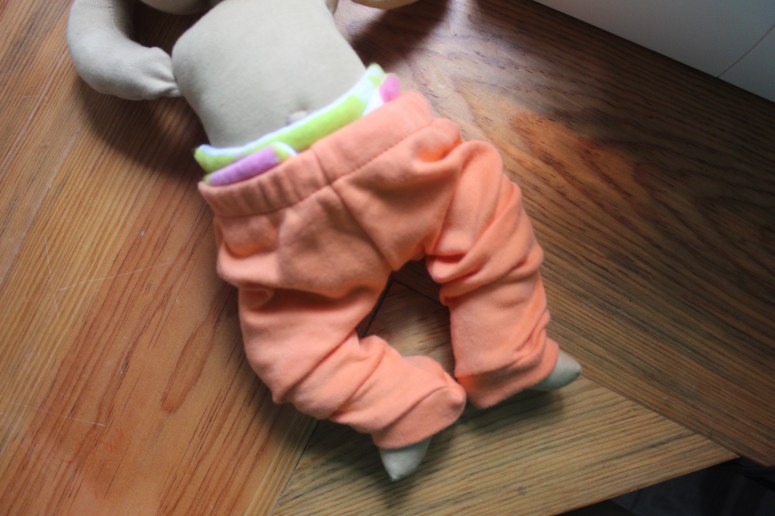
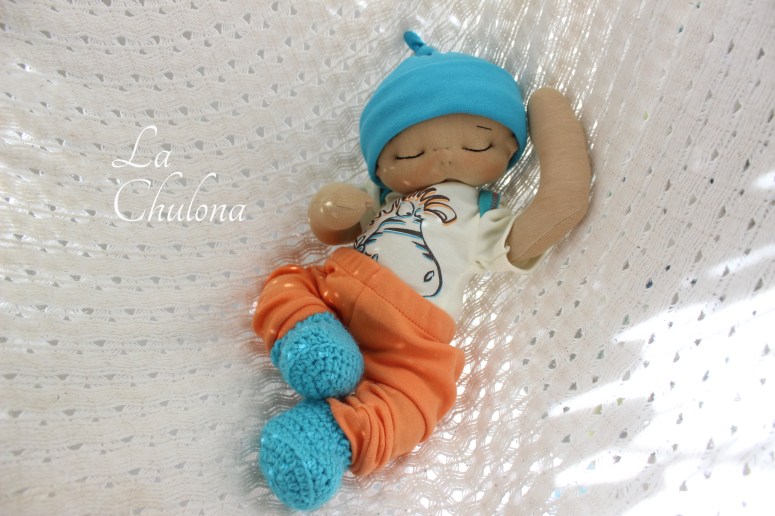
Here is the whole ensamble put together. I crocheted some booties for Bruno and made him a little hat to go with it. I love how his little outfit came out and it was pretty easy to make.
 You can actually go through the same steps with sleepers, skirts, and most of baby clothes. I have also used this to make newborn clothes fit a preemie doll. Hope this helps you make easy clothes for your baby dolls. This is also a good way to repurpose old baby clothes.
Hope you liked this little tutorial. Check my pattern shop on Etsy where you can find patterns to make cute baby dolls and some clothes. Click here!
Thank you for being here.
Read you soon!
Hugs,
Aubrey

This is a great idea! We have a store in our community that sells gently used baby clothes for very cheap. I will attempt to make it one day! Thank you for sharing!
LikeLiked by 1 person
That is good idea. Hope this helps. 🥰
LikeLike