
Even though I have a couple of free tutorials in my head, some of them ready to be posted here, I am so busy I end up not making them. So today is the day I will finally update this page with a new free tutorial. It is very simple, yet very cute. I hope you like it.
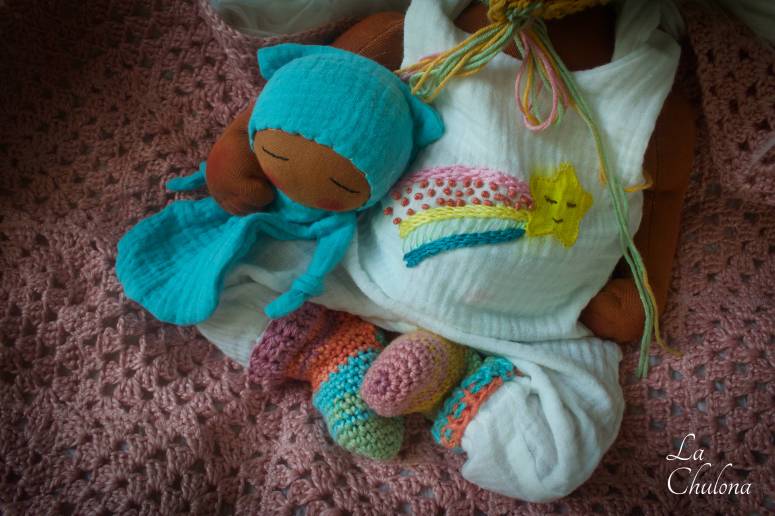
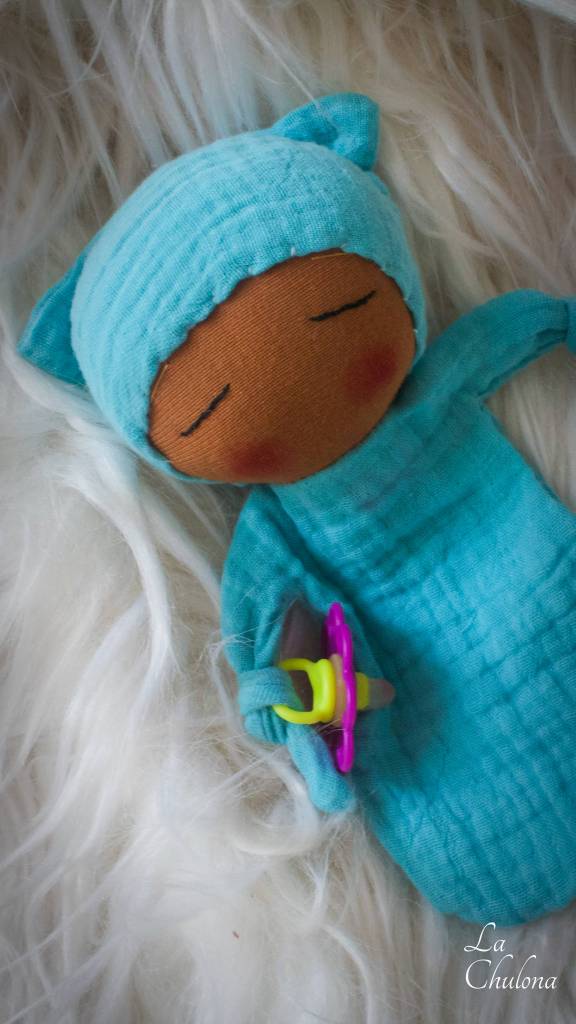
I used this pattern to make a lovie for one of my bigger babies, Miera. But I’m sure this can also be used to make a lovie for your real baby. Everything is embroidered and securely sewn to the baby. It can also double as a pacifier holder for the baby.
Now let’s start with the pattern.
Baby Lovie Free Pattern by La Chulona.
Materials
- 4″x 10″ piece of doll skin fabric (Laib Yala, DWE, or any fabric to make Waldorf dolls work well)
- 17″ X 8″ of fabric for the body (Cotton gauze, french terry or cotton velour work the best)
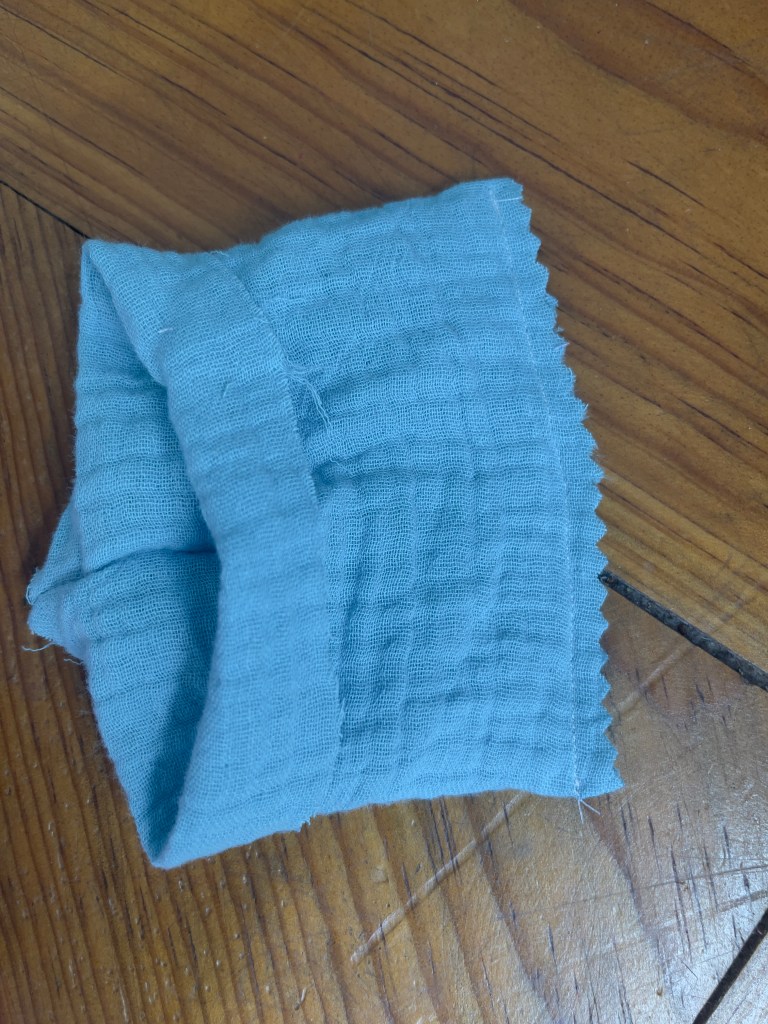
- Piece of 5″ x 9″ of fabric for the hat
- Embroidery needle
- Doll making needle at least 3″ long, mine is 5″
- Embroidery thread in colors for the eyes, nose, eyebrow
- Hand sewing needle and thread.
- Stuffing. I have used both polyfill and wool in different occasions.
- Airasable pen
- Pattern
- Scissors
- Pins
- Sewing Machine
- Thread in matching colors to sew in the machine
- Measuring tape
- Creativity
Making the doll.
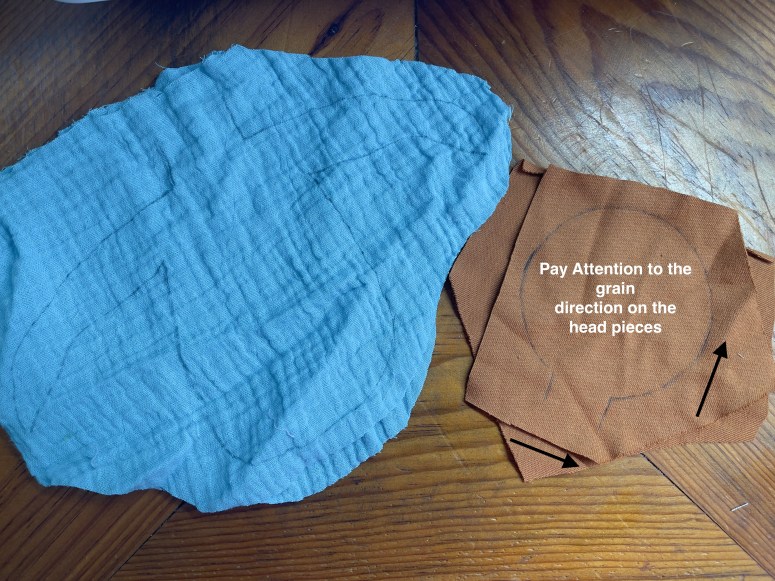
This pattern does not have seam allowances because it is meant for you to sew over the marked lines. So make sure when you cut the pattern pieces, you leave enough room for the seam allowance around the marked lines. Look at the photo below for reference.


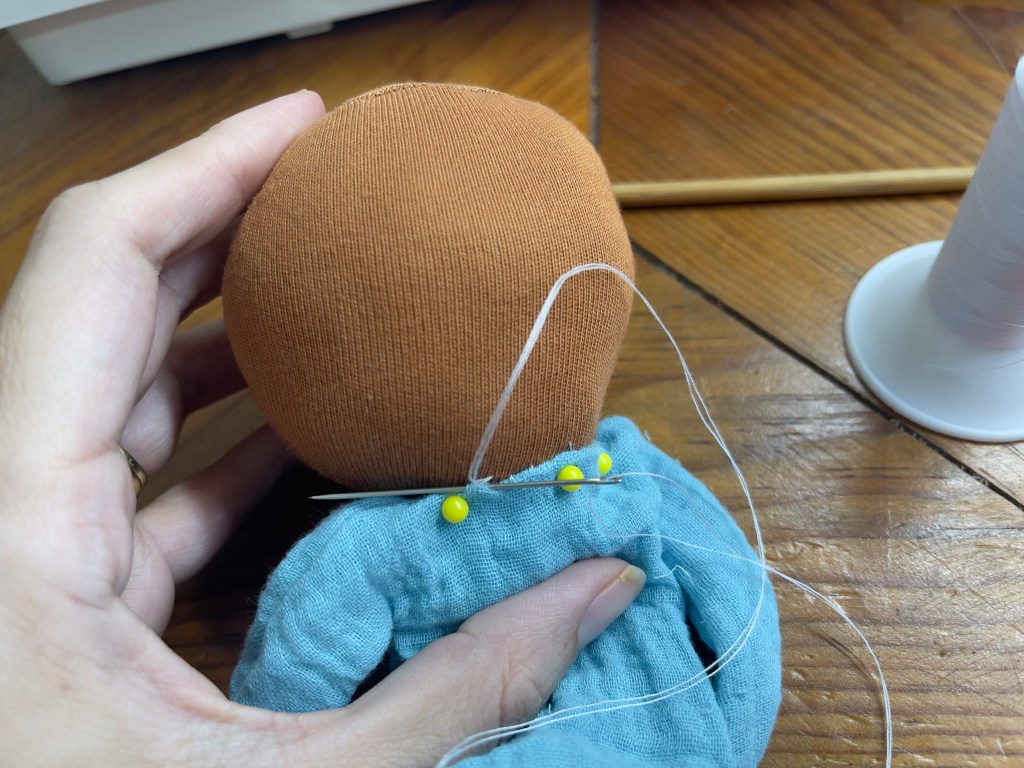

9. Starting at the back of the head, hand sew the head in place with regular needle and thread and a ladder stitch. Go over it twice, the second time try to make the stitches as small as possible. Secure the thread in the back and hide the knot and thread inside the body of the doll.

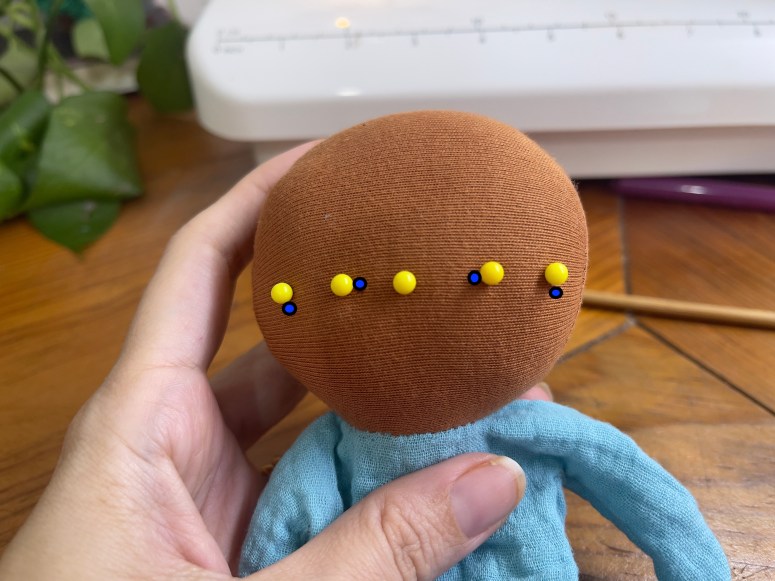

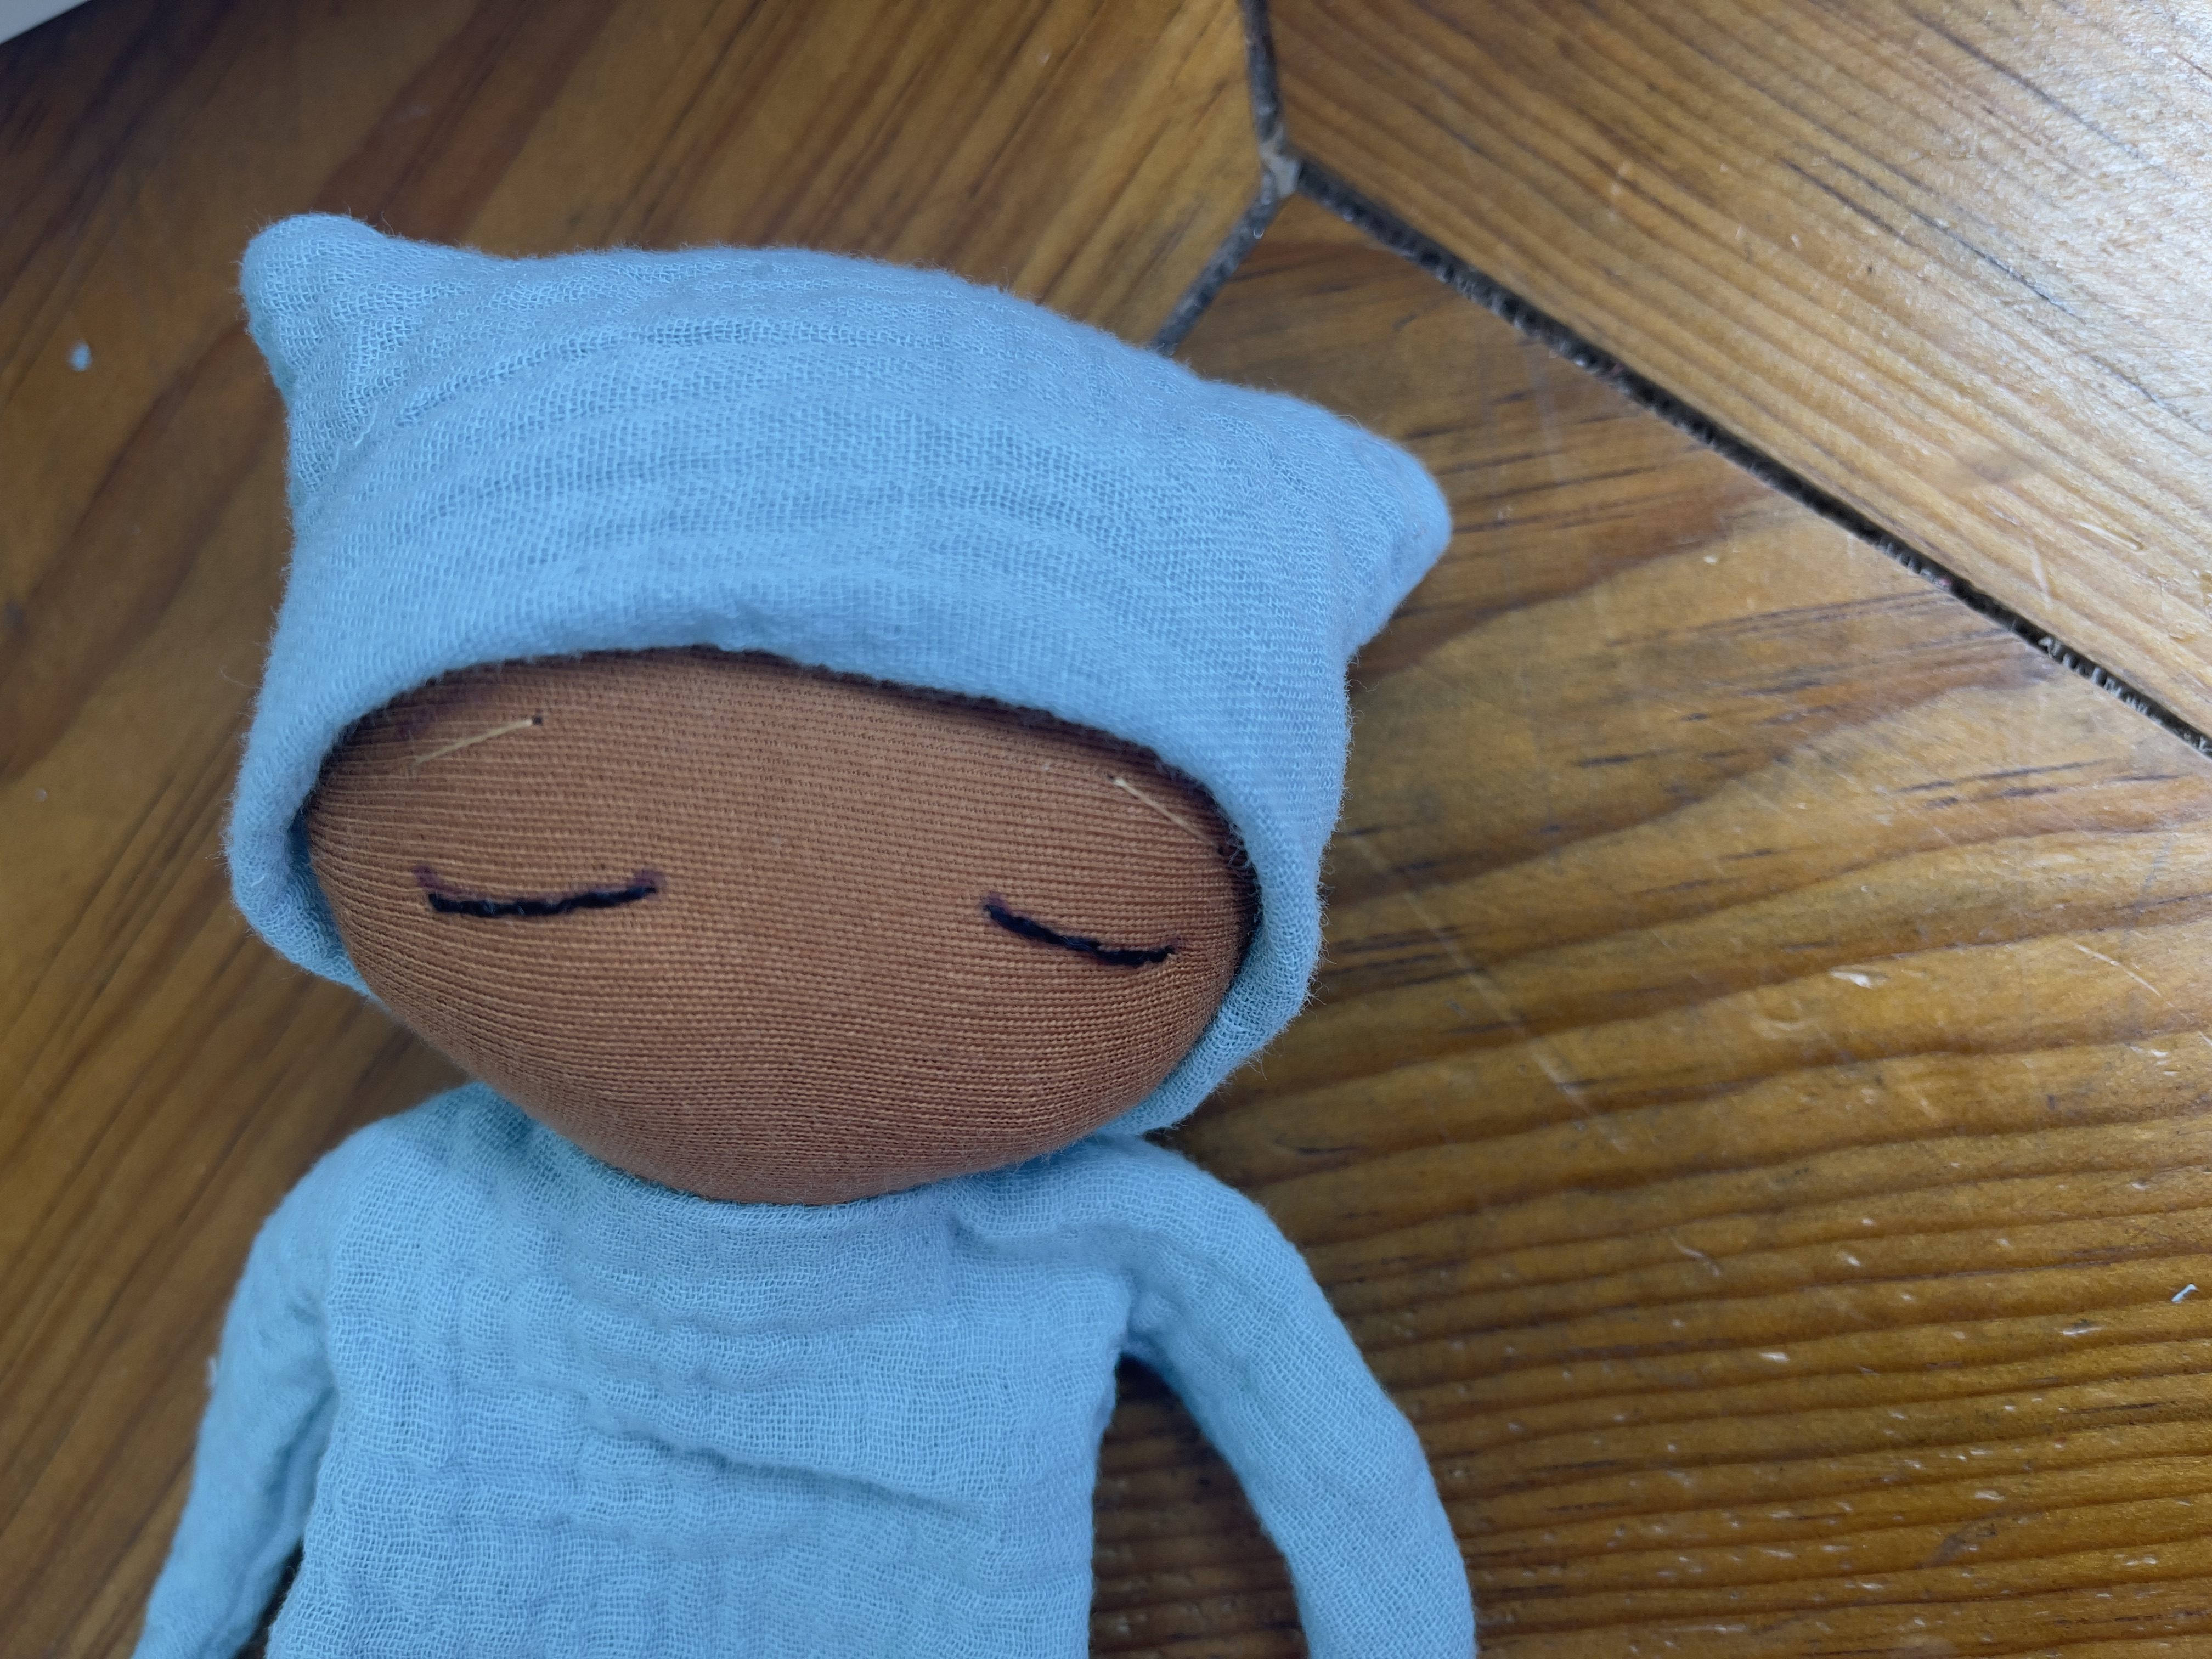
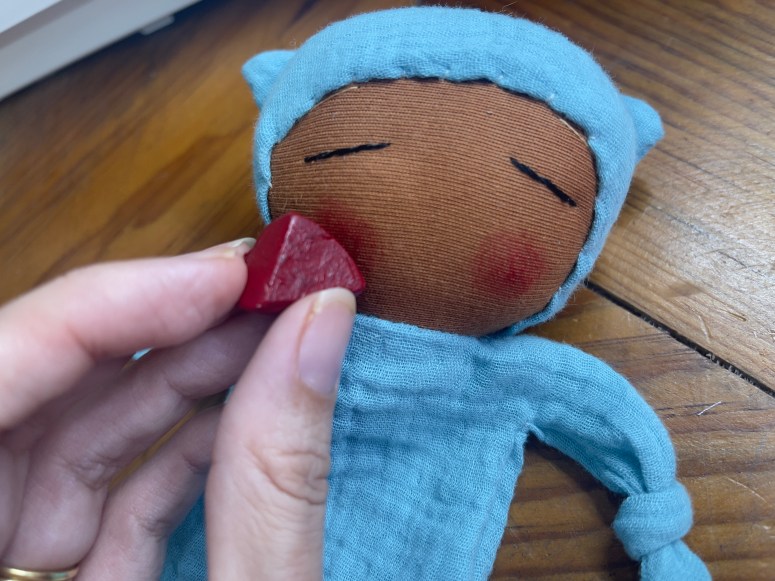
10. With your measuring tape, find the center of the face, mark it with a pin. Also mark with pins the beginning and end of the eyes, the measuring tape will help you make them more symmetrical. Make a dot next to each pin that is marking the eyes. Make sure they are marked the same way on both eyes. Take all the pins off so you don’t poke your fingers.

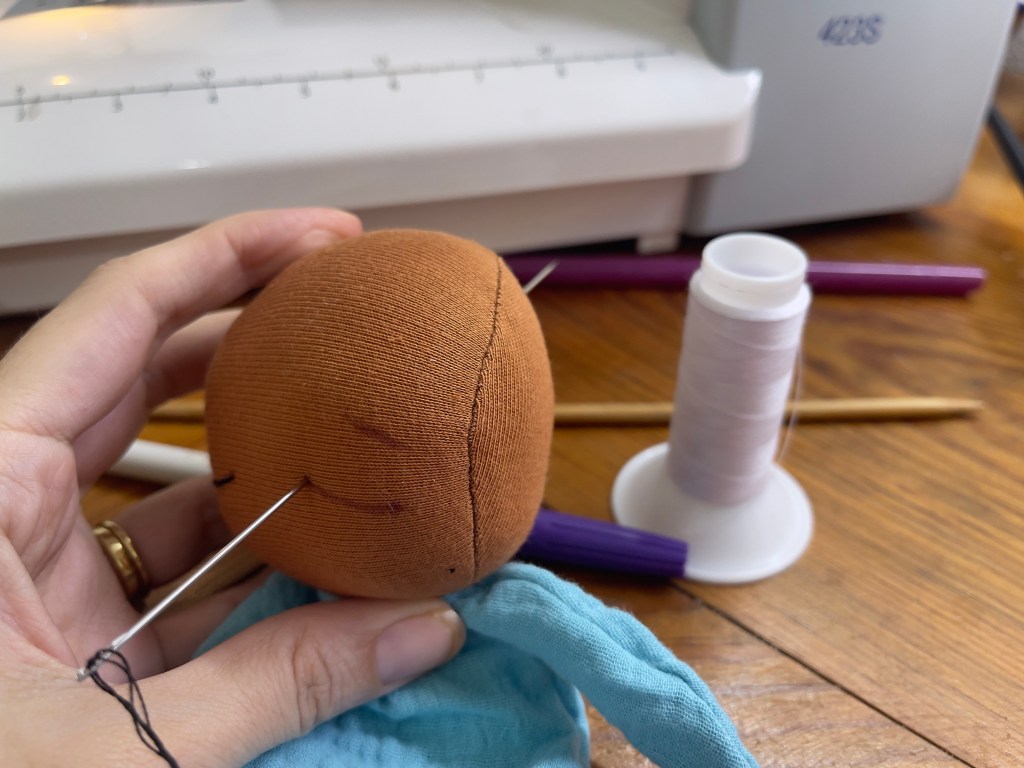

12. Thread a doll making needle with 2 strands of embroidery floss for the eyes. Insert the needle at one corner of the eye and come out the back. Leave enough thread at the back to make a knot later on, and enough thread at the front to embroider the eye.
13.Change to an embroidery needle. Embroider the eye with a back stitch or stem stitch.
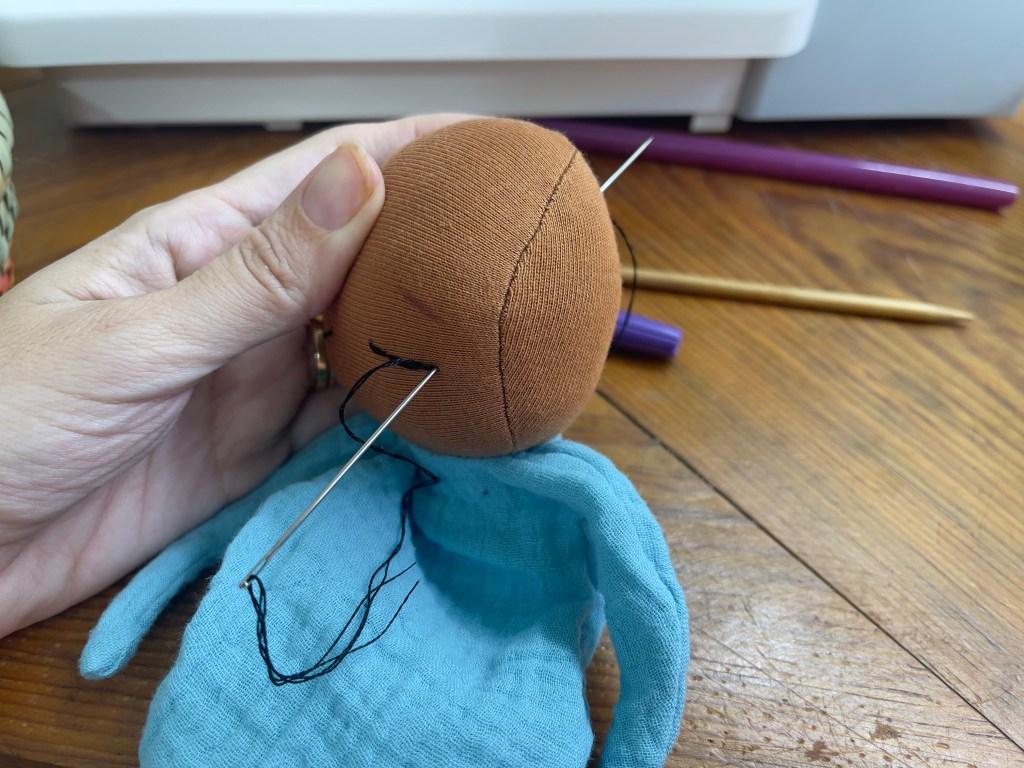
14. At the last stitch come out the back of the head. Try to come as close to the other thread as possible. Make three knots.


16. If you choose to make the eyebrows, thread a needle with the embroidery thread you chose for the eyebrows. Do not make a knot. Insert the needle in one side of the eyebrow and come out the other side. Make a double knot with both ends. Hide the knot the same way you did in the previous step.


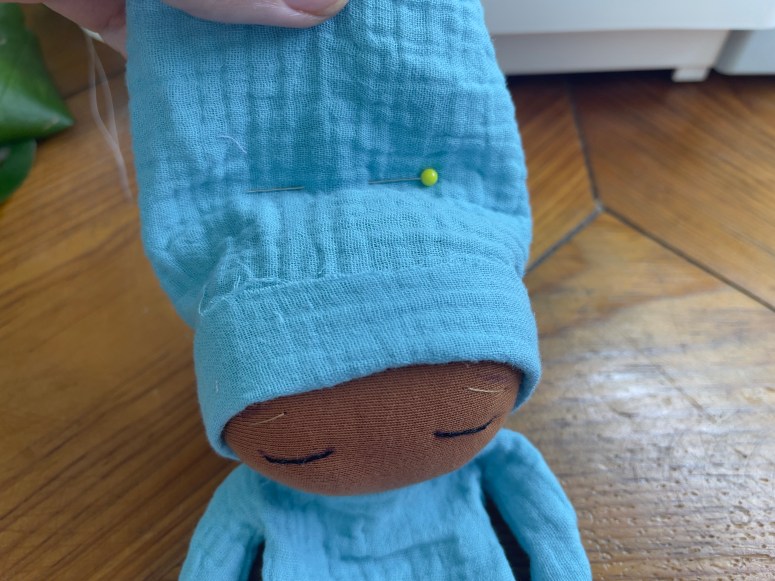
18. With right sides together put the hat on the doll’s head and folding the bottom upwards find. a place you would like the hat to be. Pin in place for now.

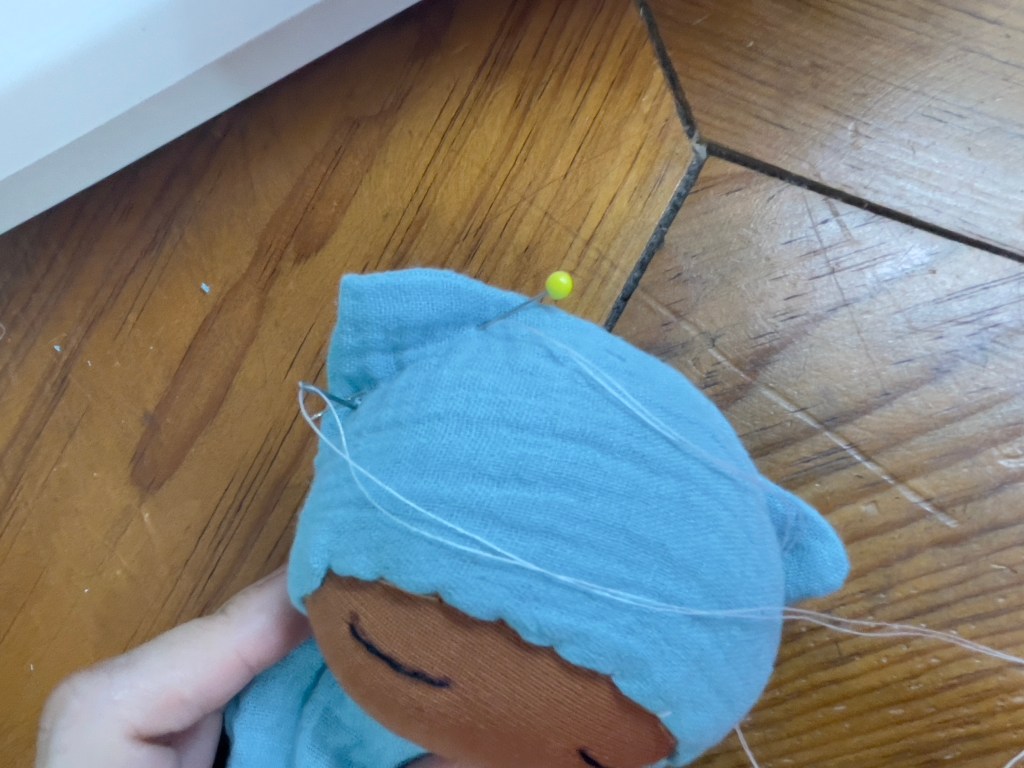
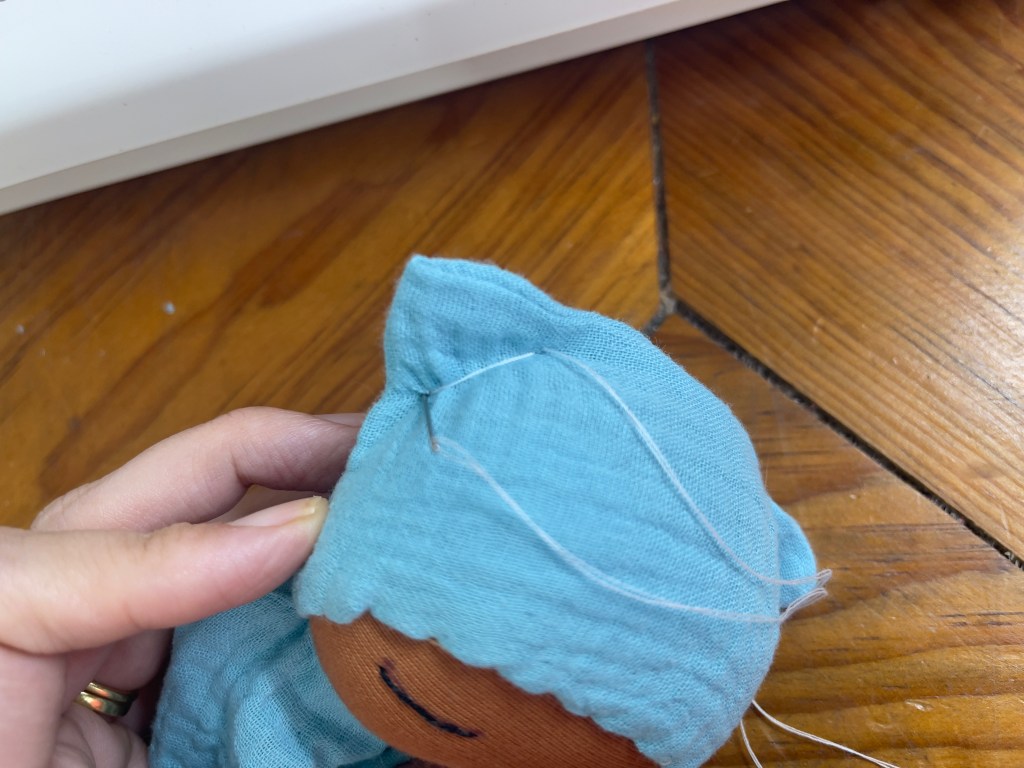
20. Take hat off but don’t take the last pin out yet. With a straight stitch close the top of the hat right where you place that last stitch. It should look like a square now. Note that the back part of the hat looks longer than the front. This is how it should look.


21. Turn the hat right side out. Keep the fold to the inside. You can adjust it while putting the hat on the doll’s head. Pin in place and with hand sew to the head with your favorite stitch. I used a whip stitch.


23. With regular needle and thread. Start with an anchor stitch in one of the sides Try not to go all the way to the edge take a stitch of about an inch. Make sure it does not go to all the way to the other end. Go over that stitch at least three times.


If you have any questions, please do not hesitate to ask. I’m more than happy to help. If you make a lovie using this pattern I would love to see it. You can post it on my Facebook page La Chulona Handmade dolls or tag me on IG @lachulonadollspatternstudio.
You are free to use this pattern to make dolls for sale, I just ask you give me credit for any dolls made with it.
Please, don’t sell the pattern, I think it’s obvious, but hey, you never know. It’s better to make sure I write it down.
If you like this pattern, you may want to check out my pattern shop on Etsy I add new patterns evry couple of months.
You can also now join me on my Patreon channel where we talk about tips, tricks, inspiration, creativity, and more. All about doll making and baby dolls of course.
Read you soon!
Hugs,
Aubrey

Hermoso todo el cuidado y cariño que pones en cada unx de tus bebés. Me encantan. Te felicito.
LikeLiked by 1 person
Ay muchísimas gracias Amado. Eso significa mucho para mi. Un abrazote. ❤️
LikeLike